Creating and Printing Test Jobs
You must create a test job for each combination of grain direction, paper grade and highest and lowest grammage.
In our example (see Example for Paper Categories), we need 4 test jobs:
1st test job: long grain, coated, 100 g (test chart with 70% area coverage)
2nd test job: long grain, coated, 300 g (test chart with 10% area coverage)
3rd test job: long grain, uncoated, 115 g (test chart with 70% area coverage)
4th test job: long grain, uncoated, 250g (test chart with 10% area coverage)
For a better result, you can create more test jobs with intermediate values (high grammage/high area coverage, low grammage/low area coverage)
You must set up each of the test jobs separately in the Prinect Cockpit. To do so, proceed as follows (using the example of test job 1):
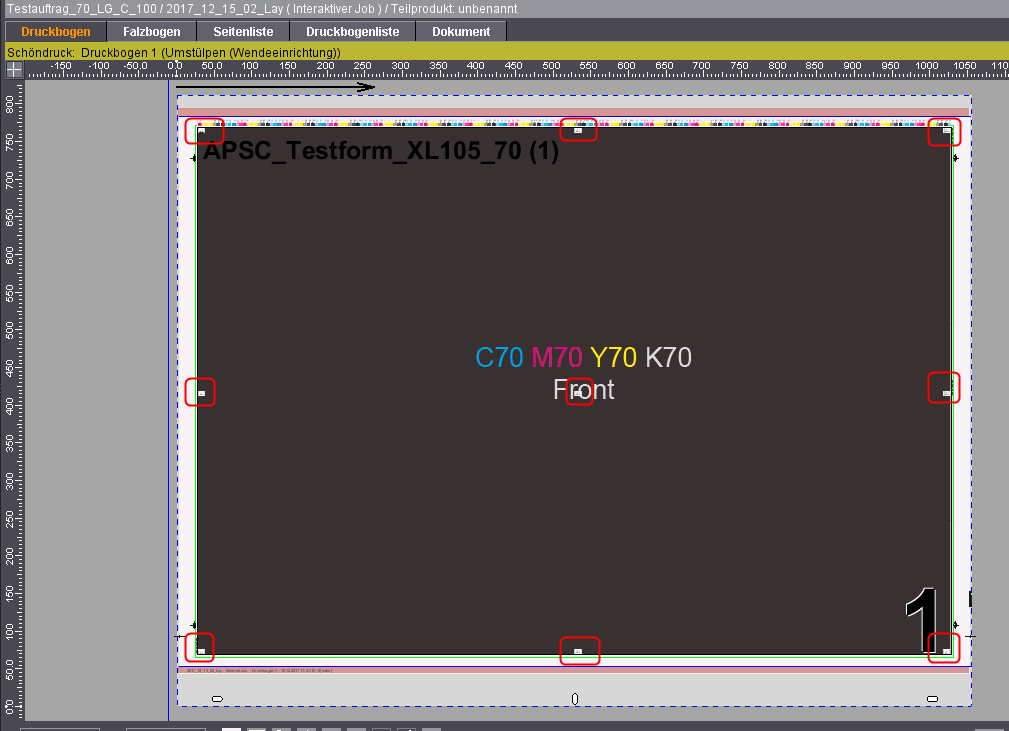
1.Set up a 2-page job with a unique name (e.g. "Test Job_70_LG_C_100" = 70% area coverage, long grain, coated, 100 g)
2.Add the test chart with 70% area coverage created beforehand to the test job.
3.Create a layout with interactive Prinect Signa Station.
4.There, select the paper to be compensated (in this example, long grain, coated, 100 g).
5.Place marks to measure the misregistration on the press sheet.
See Placing Marks on the Press Sheet.
6.Export the layout to Prinect Cockpit.
7.Submit the layout to the ImpositionOutput sequence you created earlier.
The job will be submitted to APSC automatically and the plates exposed on the recorder.
8.Print the job on the press.
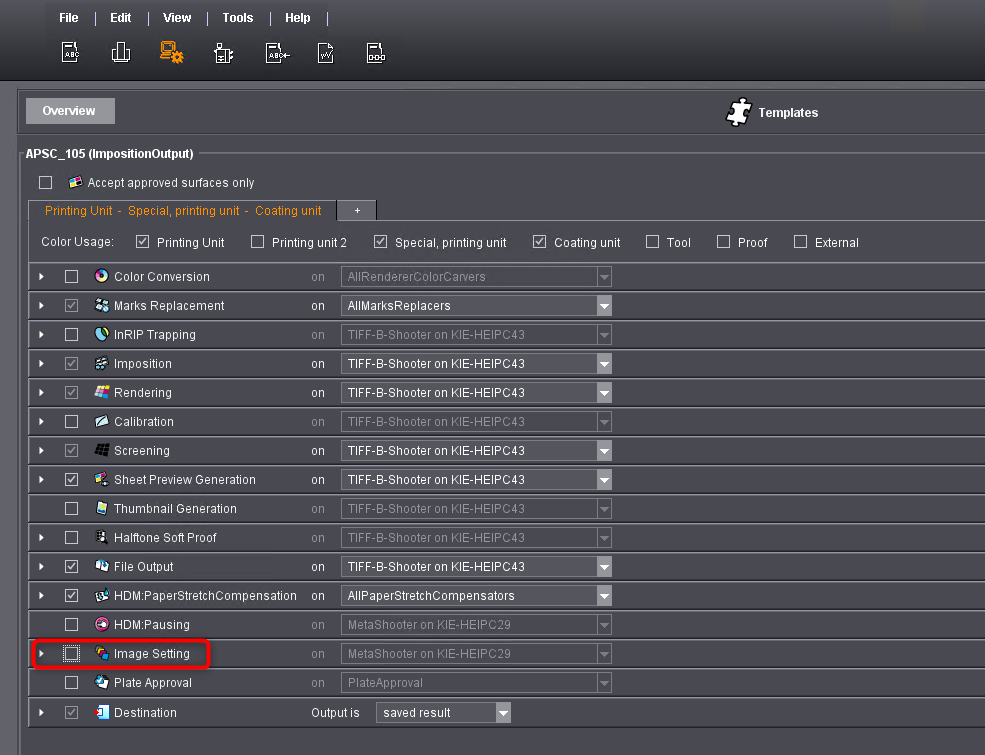
Repeat the steps for the other test obs. User other papers and test charts each time. To save on plates, disable Image Setting for periodic layouts.
You can save on plates if only the paper of a test job has changed and the layout remains identical (test jobs 3 and 4). To do so, disable the option "Image Setting" in the ImpositionOutput sequence:
Result
Once you created all the test jobs, you have printed sheets at your disposal that you can measure. In addition, all the test jobs are ready in the APSC job list. Check your deletion rule if the jobs are not present. See "Delete Job".

Proceed by measuring the misregistration. See Measuring Misregistration and Submitting to APSC.
Placing Marks on the Press Sheet
1.What Kind of Marks Are Available?
3.Placing Marks on the Press Sheet Correctly
What Kind of Marks Are Available?
To measure the misregistration, you must place special marks on the press sheet. Basically, there are two marks you can use. They differ with regard to the measuring method and the equipment required. To create characteristic curves, we recommend that you add both marks, which will allow you to switch between the measuring methods later on, if necessary.
You can use the following two marks:
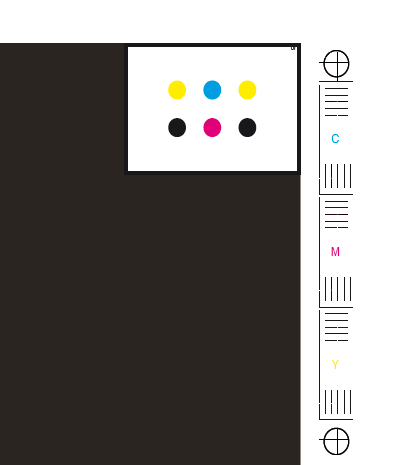
1.iRegister mark by Techkon

With this mark, you can automatically measure with the camera of an iPhone. Compared to the second variant, measuring is much faster and has a lower error rate.
To measure, you need an iPhone and the iRegister app by Techkon (both must be acquired independently). For more information, refer to the Techkon homepage: http://software.techkon.com/iRegisterHelp/defaultD.htm
2.Nonius mark

With this mark, you can measure misregistration manually (visually). This measuring method takes more time and has a higher error rate than the first method. However, you need no additional equipment (a magnifier or a reflective microscope might be convenient).
The iRegister mark is available on the Techkon homepage. Follow the link below to download it: http://software.techkon.com/Register.eps
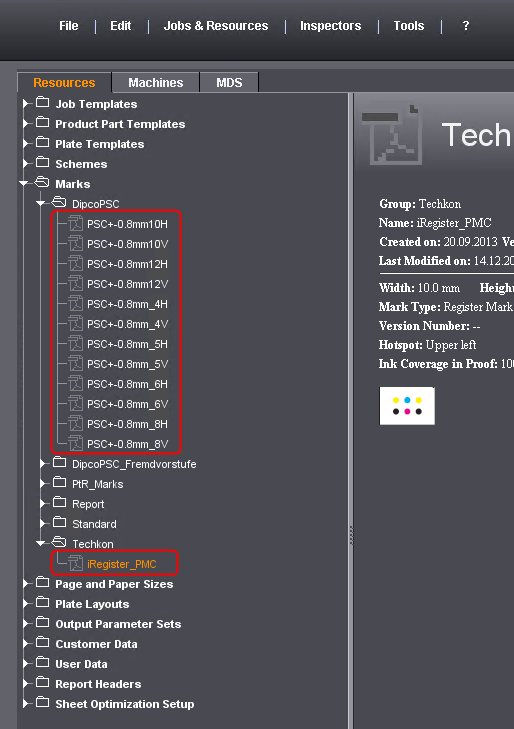
The nonius marks are installed along with Prinect Signa Station and can be found in the following folders: "...\Program Files\Heidelberg\Prinect Signa Station 19\Marks\Dipco\Prinect\DipcoPSC". There are variants for 4, 6, 8, and 10 colors, each of them in a horizontal and a vertical variant. To create characteristic curves, you need the 4-color marks. The other marks are intended for spot colors.
To use the marks, import them into the Prinect Signa Station resources. For a description of the procedure, refer to the Prinect Signa Station Online Help.
After successful import, the marks are available in the resources:
Placing Marks on the Press Sheet Correctly
To obtain an optimum measuring result, you must place the marks equally spaced on the press sheet in 9 positions:
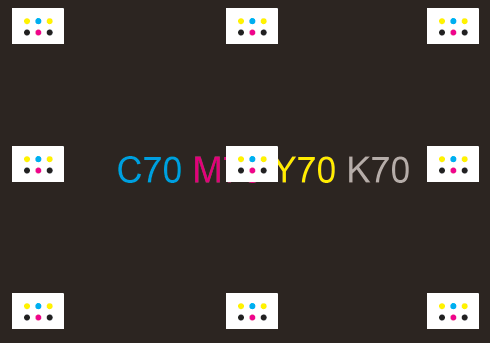
Positions of marks
We recommend that you place both marks in each of the 9 positions. For the nonius mark, you can choose between the horizontal and the vertical version. Both can be used.
iRegister mark and vertical nonius mark
Heed the following when placing marks:
•You can place the marks inside the subject. But make sure they neither cover control strips nor the classical PDK cross.
•Place the marks equally spaced and in one line.

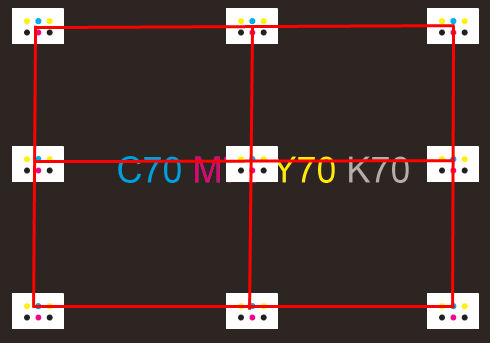
You must manually specify the real offset later if equal offsets are not possible. Differences of max. 10 mm are allowed.
•Set the marks so they knock out the background.
•The marks may not be scaled or rotated.