
Note: Recalibration should normally be done by measuring (see Re-Calibration by Measurement). This method ensures — in particular for proofing purposes — that the required ink limits are met.
It may be necessary in special cases to set recalibration through a visual assessment of the printed test charts. Use this step in exceptional cases only! One reason for a visual correction could be to save ink in an existing calibrated profile without changing the profile. In this case, you can reduce the ink amount in the Visual correction module. Of course, output is then no longer color-consistent.
In the "Visual correction" module, you can — based on visual judgment — edit the ink curves of each of the color channels.

Prerequisite: For visual correction, you need a printed sheet (a printed test chart or another printed sheet with appropriate color control bar) on which to base the visual judgment.
1.In the Color Proof Pro Start window, click "Visual correction" to start this module.

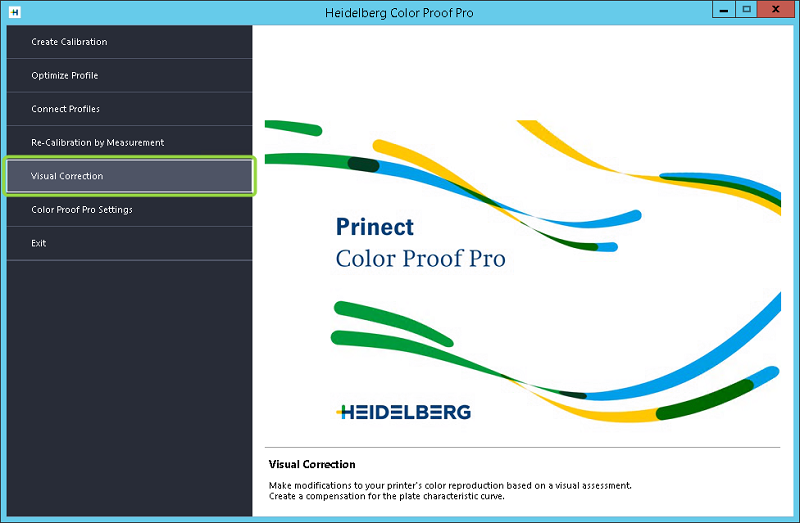
The following window displays:

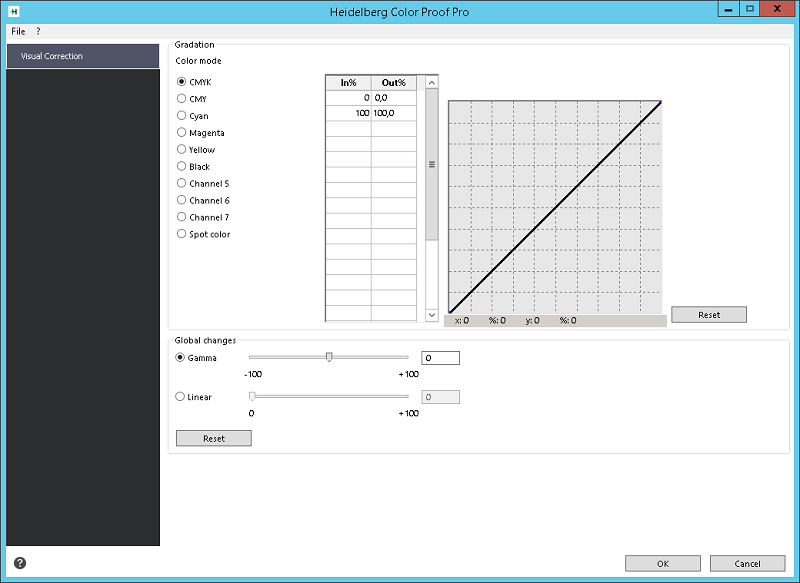
In this group, you can separately edit the gradation curves of the selected color(s).
With "Color mode", you set the color mode of the gradation curve to edit. Selecting the color mode requires two steps:
·First select the color space to edit in the list box. The following color spaces are available: CMYK, Hexachrome (CMYOG), CMYKRGB, RGB.
·Depending on the color space you selected, different options for the displayed, editable gradation curve can be used. You can select the curves for the entire or part of the color space, or for a single color each. When you select a single color, the curve is given the respective color.
2.Select the color mode you want. Select, for example, CMYK to make global changes to the CMYK colors or to edit Cyan, Magenta, Yellow and Black (and a spot color if present) one after the other to make individual changes.
3.Move the mouse pointer to any point of the gradation curve and click left to create a "handle". Hold the mouse button pressed on the handle and move up to apply more ink or down to apply less ink.

Note: You can, for example, correct a greenish hue by reducing the amount of yellow and cyan.
Moving the handle is reflected in the table by respective In and Out percentages. Alternately, you can also type values in the table manually. The curve will change accordingly (once you press the Tab key).
4.When you edit individual colors, you can, after having edited the first color (e.g. Cyan), select a second (e.g. Magenta) and then edit this color, etc. The colors will be displayed in the chart one after the other.
5.To undo changes, click "Reset". This will reset all changes made to the ink limit gradation curves.
6.To edit individual changes at a later time , you can, after selecting the color, move the handle in the chart or double-click an entry in the table and edit or delete this value.
Group "Global changes"
In this group, you can set the brightness globally for all colors. For this purpose, there are two sliders:
•Gamma
This setting affects the lightness of all the color data, but mainly the lightness of the midtones.
•Linear
This setting affects the lightness of all the color data equally.
1.Enable the respective radio button and move the slider to the desired position.

Note: The changes you make here are automatically applied to all colors.
2.Click "Reset" to undo the changes.
1.Click "OK" to finish editing and to close the window.
As the result of a visual recalibration, a file of the "visual correction" type (*.vcc) is generated. A browser window opens where you can specify the storage location and the file name.

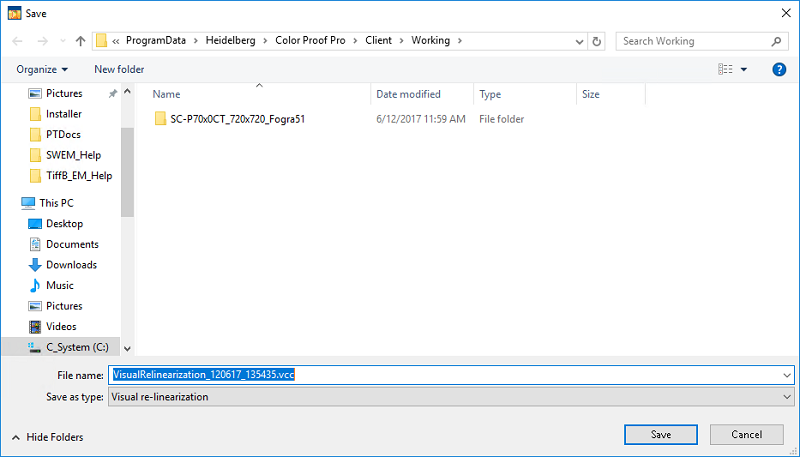
The default is the "Working" folder (Windows as of version 7: C:\Program Data\Heidelberg\Color Proof Pro\Client\Working).
For more information on how to select a visual correction file in Prinect, please refer to the Online Help of the respective Prinect application.
Visual correction is now finished. You can now select the vcc file you generated in the respective Prinect Proof sequences.