
Configuring the machine report view
An individual configuration of the display is useful if, for example, you only "trace" the activities of certain machines, or if you want to form custom groups of machines (e.g. "Machines, pressroom 1", "Machines, pressroom 2").
For better understanding, we configure the following machine display:
•All areas
·DT_SM74-4
·XL105_8_P5
•Finishing
·Folding machine
·Saddlestitcher
1.Click "Change defined view".
·The window as shown below displays.
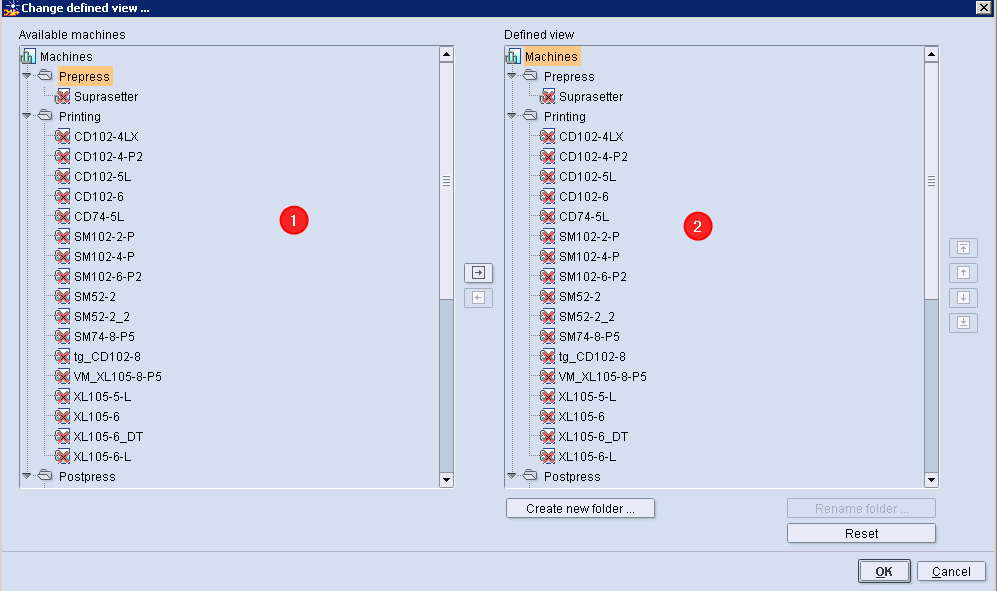
The dialog is divided into two sections:
•Available machines (1)
The "Prepress", "Press" and "Postpress" sections (if existent) are displayed here including the machines already defined.
•Defined view (2)
Only the sections and machines that have been configured are displayed here. If no display has been configured yet, the content of the "Available machines" section is displayed here.
First, we remove the "Prepress" section from the configuration.
2.Select the "Prepress" folder in the "Defined view" section.
3.Then click the "Arrow to left" button.
The "Prepress" section has now been removed from the configuration.

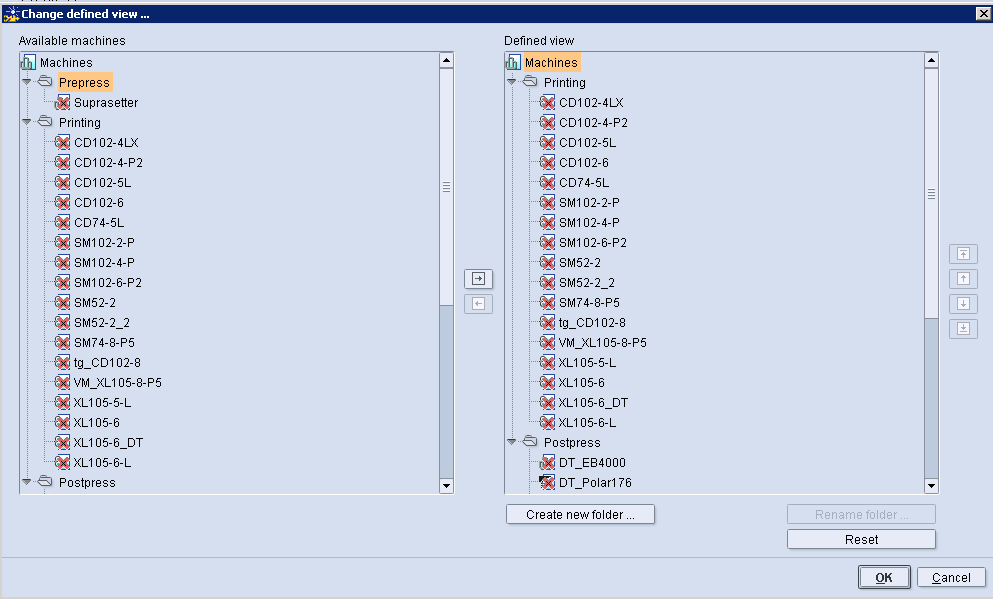
Next, we remove the machines that are not needed from the "Press" and "Postpress" sections. As the mode of procedure is always the same, we will describe this only for one section and one machine.
4.Select the machine to be removed in the "Press" folder of the "Defined view" section.
5.Then click the "Arrow to left" button.
The machine has been removed from the "Press" section.
6.In this way remove all the machines you do not need from "Press".
The "Press" section must now be configured as shown in the following graphic.

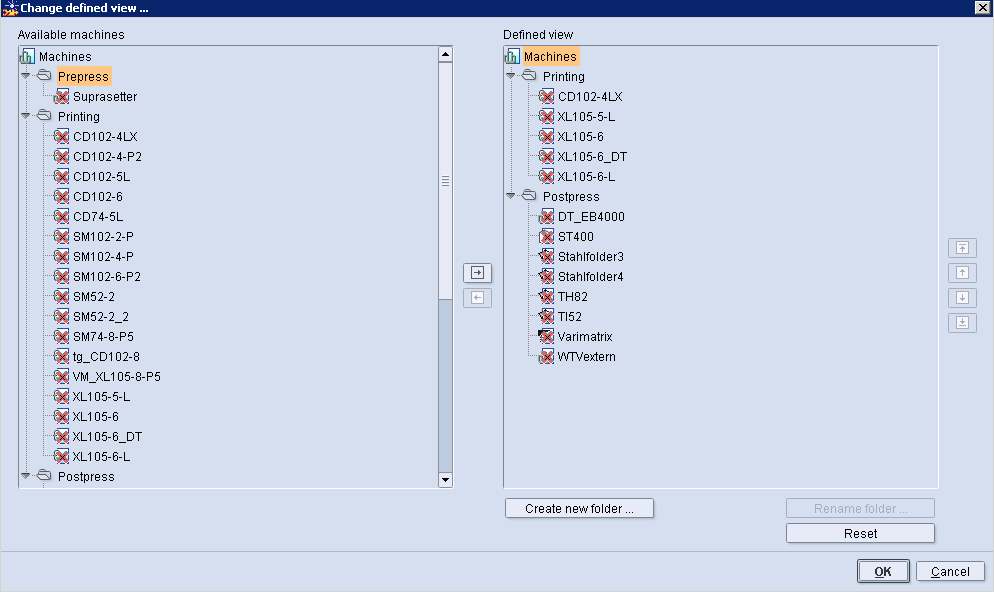
7.Remove all the machines you do not need from "Postpress" as described above.

Note: If necessary, you can replace the defined view with the view of all the available machines with the "Reset" button.
8.Click "OK".
The dialog window is closed and the configuration accepted.