
Customers must be available in the Master Data Store so that you can assign them to jobs. You must create a customer in the "Administration > Customers" section if the customer concerned is not yet set up.
1.Click the "New..." button.
The "Create Customer" dialog opens:
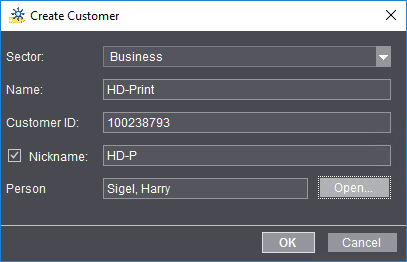
2.In "Sector", choose between a "Business" or "Private" contact for your customer.
3.Type the customer name.
4.You can assign a customer ID if administration of your customers is based on customer IDs. The customer ID is shown in red if it was already assigned. In this case, you cannot assign this ID. In connection with an MIS you generally have to use customer IDs (these are assigned in most cases in the MIS).
5.A nickname is entered automatically if you enable the "Nickname" option. You can change this suggestion.
6.You can set up one (or more) contacts at the customer's in "Person". Click "Open" to set up a new contact. The "Create Person" dialog opens:

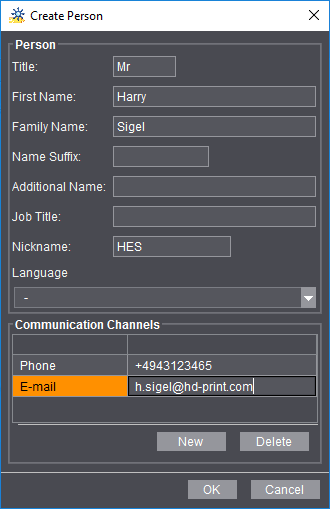
7.Enter the data of your contact.
In "Communication Channels" you can use "New" to set up one or more items. "Phone", "Mobile Phone", "E-mail", "Fax" and "Webaddress" (URL) are available as communication channels.

Note: The "e-mail" communication channel has a special function with regard to the Approval Workflow: In the "SendAssembledPDF", "SendBookletPDF" and "SendImposedPDF" sequences, you can enter the e-mail addresses of customer contacts in "Send Message to" in the "Messaging" step so that the documents to be checked are sent automatically to these addresses.
All the documents to be approved in a print job are sent automatically to all the contacts of the customer concerned who have "E-mail" set as the communication channel (see also "Destination" Option) if "Job's Customer Approval Contact" is enabled.
8.The data you entered are applied with "OK". The name of the new contact appears in "Person" in the "Create Contact" dialog.
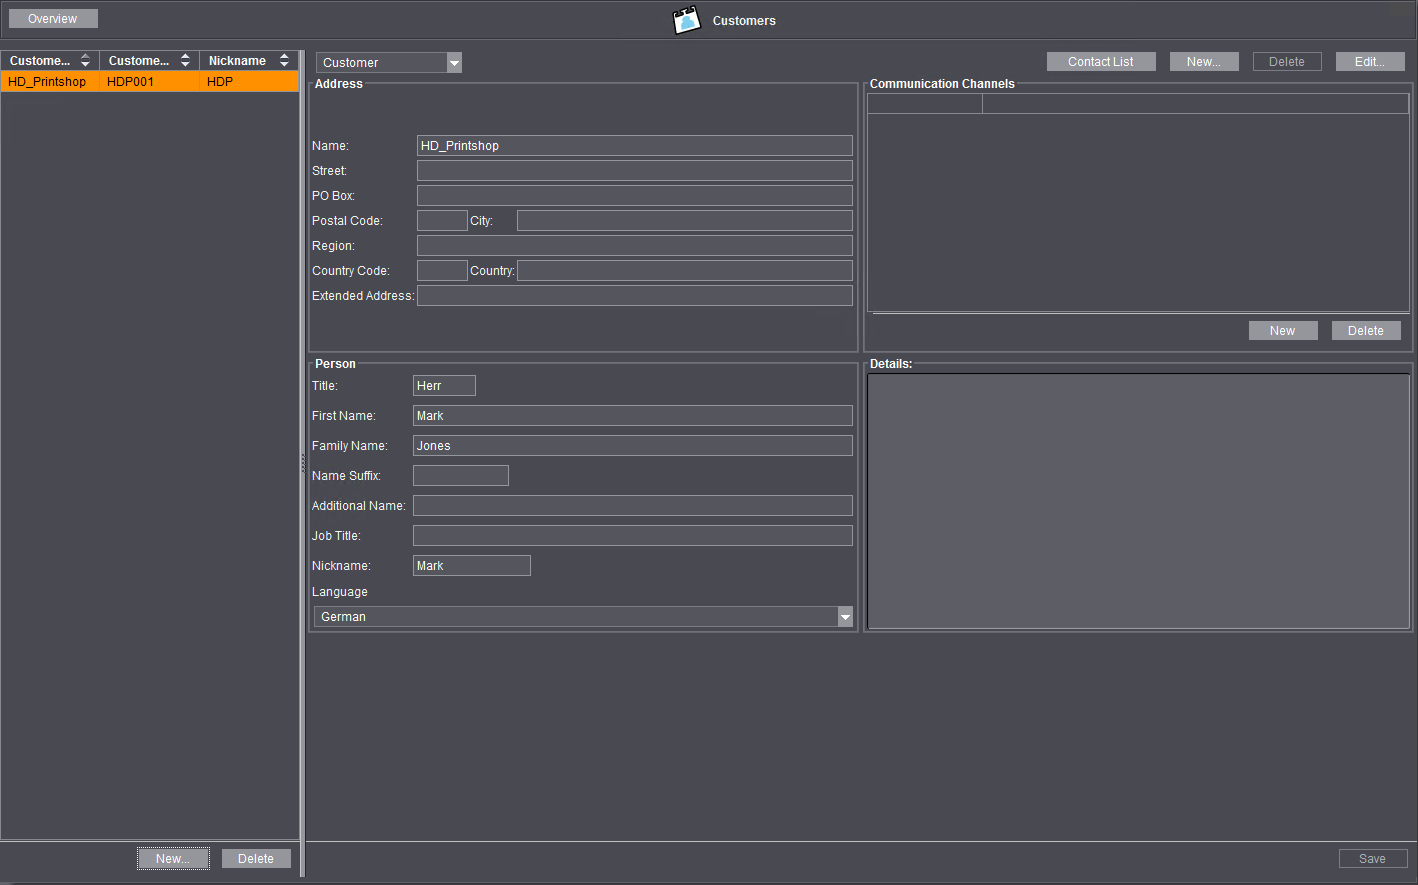
9.Click "OK" to close the "Create Contact" dialog and apply the customer data to the "Customers" window.

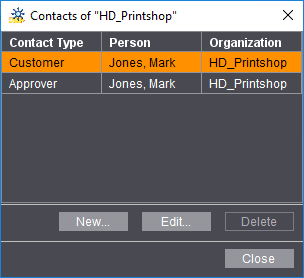
10.You can view a list of all the contacts you have defined for a selected customer by clicking the "Contact List" button. You can edit or delete existing contacts or create new contacts in the "Contacts of ..." dialog.

You can add the customer data to the Master Data Store with "Save". You can use these data right away in the Prinect system.
You can modify customer details at a later stage by marking the relevant item in the customer list and editing the data.