
In this tab, the currently defined users and their respective permissions are listed. You can define new users and assign permissions to them here (see How do I create a new user account?).
After installation, the following users (without password!) are predefined in the Prinect Manager:
|
User Name |
Permissions groups |
|---|---|
|
Administrator |
PostPressAdministrators, PrePressAdministrators PressAdministrators |
|
CockpitServer |
(Service account for CockpitServer) |
|
PostPressGuest |
PostPressGuests |
|
PostPressPowerUser |
PostPressPowerUsers |
|
PostPressUser |
PostPressUsers |
|
PrePressGuest |
PrePressGuests |
|
PrePressPowerUser |
PrePressPowerUsers |
|
PrePressUser |
PrePressUsers |
|
PressGuest |
PressGuests |
|
PressPowerUser |
PressPowerUsers |
|
PressUser |
PressUsers |
|
UserDataUpgrade |
(Service account for UserDataUpgrade) |
The administrative user "Administrator" (no password) and the user specified during the installation (such as "prinect") are defined by default for the Prinect Manager server installation. The Prinect Manager service runs under this "prinect" user. Following installation, you should assign a password for the "Administrator" user in the "User" section.
The user defined during the installation (for example "prinect") is a Windows user with whose permissions the Prinect Manager processes are executed on the server.
This user is added to the group of local Windows administrators during installation. This user should not be used to log on to the Prinect Cockpit.
The users that can be set up in the Prinect Manager user management are separate from the Windows users. They are exclusively used to assign permissions in the Prinect Manager.
To access other computers or resources shared there in the network neighborhood, Prinect Cockpit users must be set up in the Windows OS environment with the same names and passwords:
•In domains as domain users
•In workgroups as local users on all computers to whose shared resources (folders) the users logged in to Prinect Cockpit must have access.
As a general rule, UNIX or Mac computers are case sensitive, even with user names. But the user names of Windows OSs are not case-sensitive. Passwords are case sensitive on all systems. This also applies to users who are set up in the Prinect Manager.
Note: To avoid lower case/upper case issues, we recommend using only lower case for new user names throughout the entire system.
How do I create a new user account?

Prerequisite: To manage user permissions, you will need to be logged on to the Prinect Manager server with administrator permissions. The "Administration — User" permission in particular must be assigned to the user account you are logged in with.
1.Go to "Administration > Settings > Users > User".
2.Click the "New" button.
The "Create User" dialog displays:

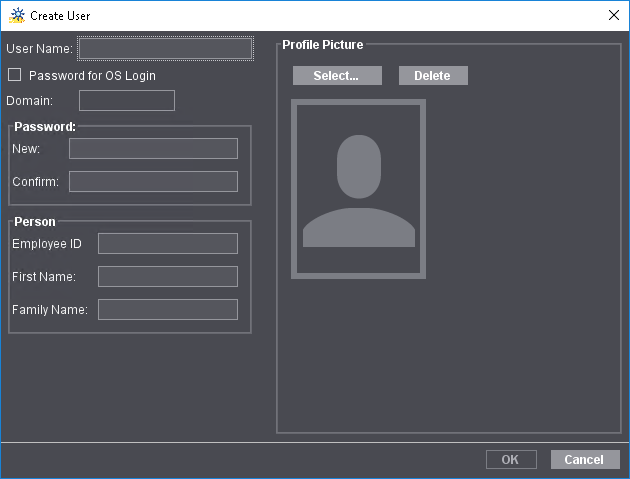
3.Enter the user name and the password.
You must enter the user name and password with which you would like to log into the Prinect Cockpit here. The user name should be entered in lower case letters and must not contain any special characters. Repeat the password in the "Confirm" box.
When activating the "Password for OS Login" option, you must enter the user name created under Windows. The password for the Windows user account will then be used for the user. When the option is activated, you must enter the domain name in which the respective Windows user was created (if computers and users are managed in a Windows domain). In this case, you do not have to enter a password.
4.To log on to a Data Terminal, you also have to enter an employee ID, a first name and a family name.
5.In "Profile Picture", you can set a profile image for the user that identifies the user visually. The profile image must be available as an image file in the system environment of the Prinect server. A selection dialog for the file system displays when you click "Select". You can delete a set profile image with "Delete".
6.Click "OK".
The user is created and appears highlighted in the list.
How do I assign a user the permissions of a certain permissions group?
No permissions have yet been assigned to the user. You must do this now individually.

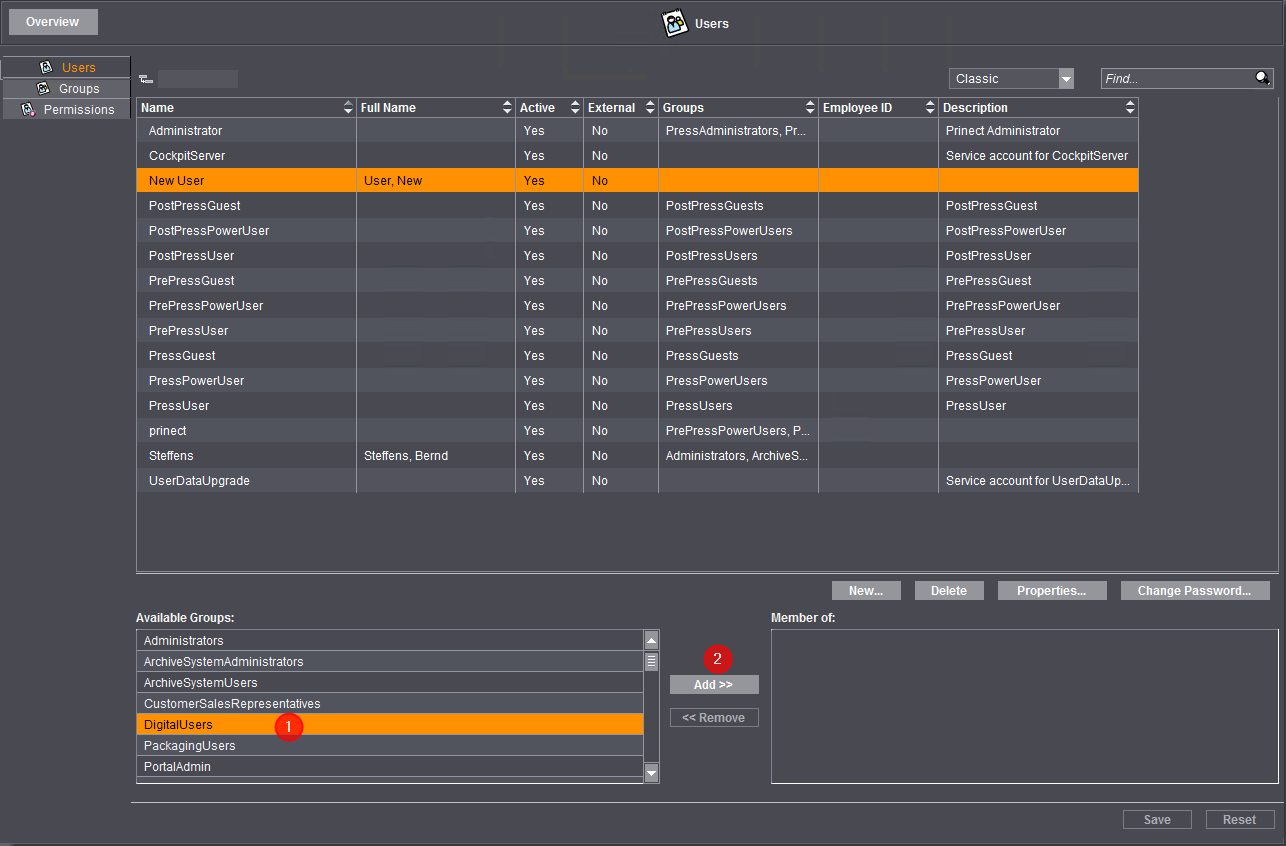
1.Highlight the permission group(s) you wish to assign to the user in the "Available Groups" section (1).
You can select several permission groups at the same time.
2.Click the "Add" button (2) or double click a permissions group you want.

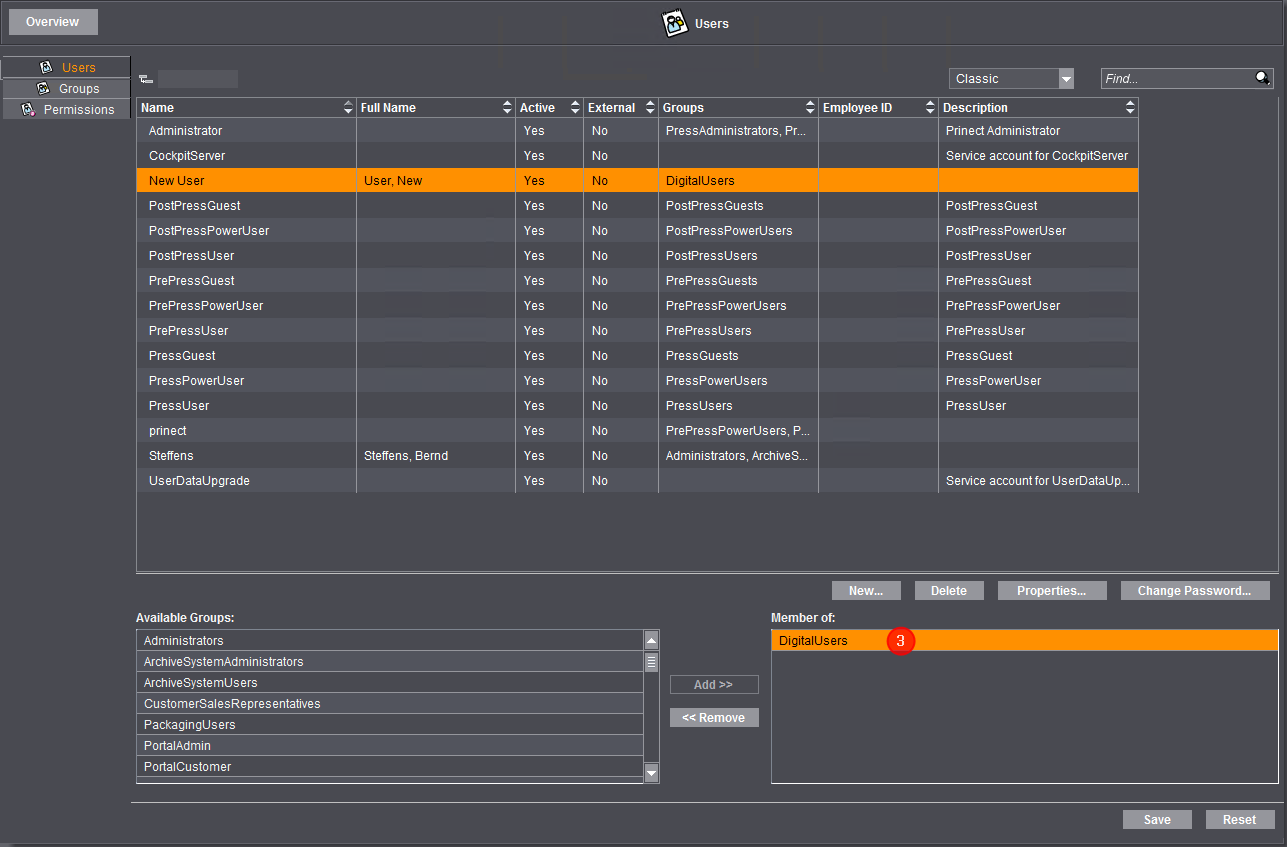
The selected permissions group(s) is (are) assigned to the user and appear in the "Member of:" section. (3).
3.Click "Save".
All the entries you have made are then saved.
How do I assign specific properties to a user?
You can define the following properties for each user.
•User Properties
This is where you can enter general properties of the user account, e.g. if the account is active, the language Cockpit is to start with, etc.
•Personal data (for example staff number, name)
This personal data is important for the Data Terminal. You cannot log in to the Data Terminal without staff number, a first and a second name.
•Address data (e.g. town, street)
•Communication channels (for example phone, e-mail)
Configuring user properties
1.Select an existing user item.
2.Click the "Properties" button.
The User Properties are displayed.

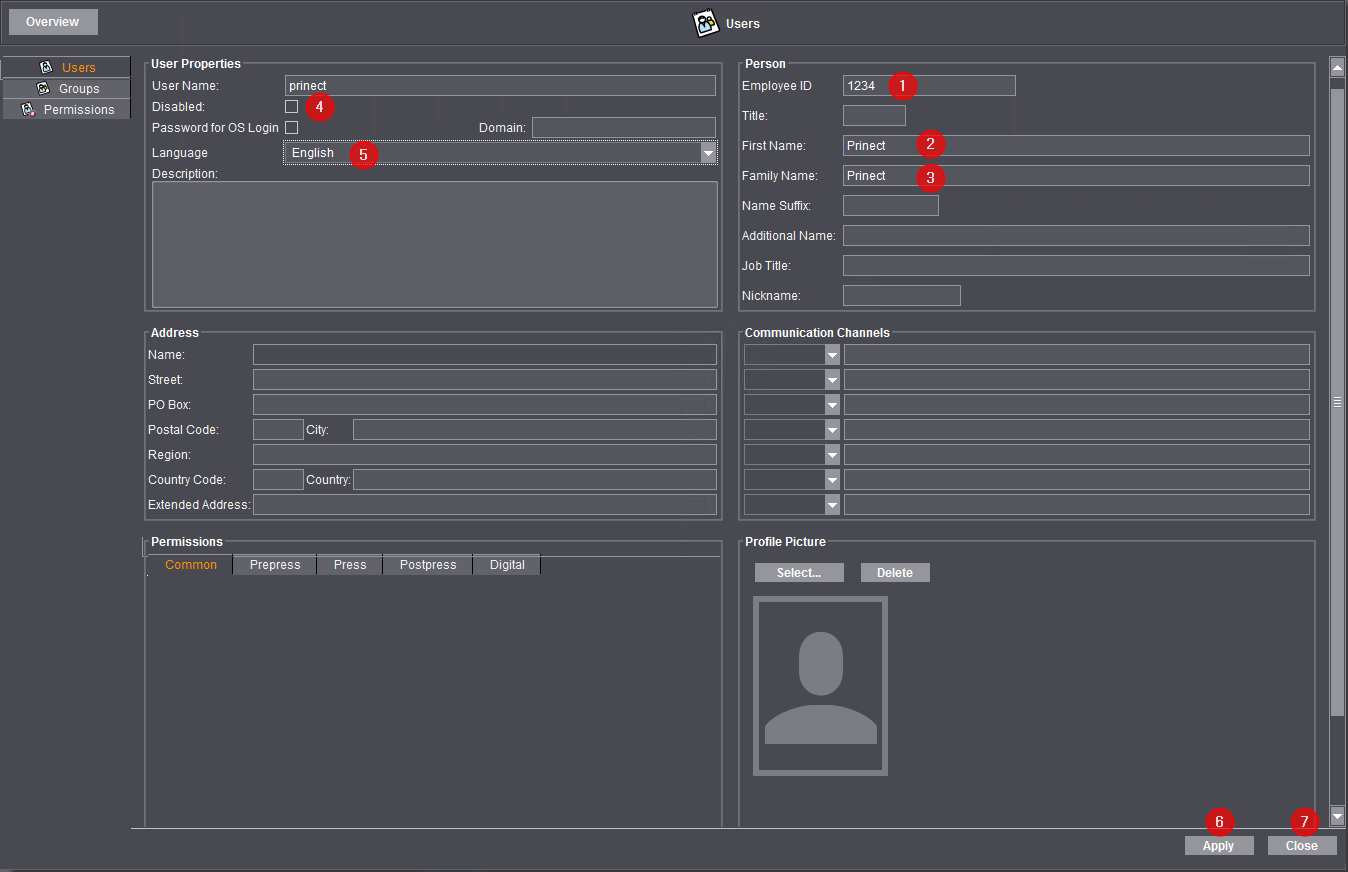
3.You have to enter the following attributes in the "Person" section to be able to log in to the Data Terminal:
·An employee ID (1).
·A first name (2).
·A family name (3).
4.Make sure by removing the checkmark in the "Disabled" checkbox (4) that the user is enabled.
This is of particular importance if you have imported staff data from the Prinect Prinance Management Information System. They are deactivated by default after import (check mark in the box).
5.Define the language with which the Prinect Cockpit is to be started for this user (5).
The default setting is overwritten for this user in the "Administration > Preferences > All Users > Language" section.
All other attributes are not obligatory.
6.Press "Apply" to save the settings (6).
7.Then click "Close" (7).
How do I change a user's password?
1.Go to "Administration > Settings > Users > User".
2.Select the user whose password you want to change.
3.Click "Change Password". The following message displays:


4.Acknowledge the message with "OK". The dialog "Change password for User..." appears:

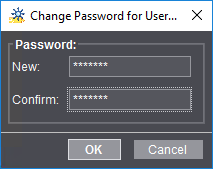
5.Type the new password for the user and retype it in the "Confirm" box.

Note: You should assign new passwords to all users imported from an MIS (Management Information System).

Note: In principle, you can delete all user accounts except the Administrator account and the one you are currently logged in with.
In theory you can also delete accounts of users currently logged in at the Cockpit. But we recommend that these users log out before deleting.
1.Select the user to delete.
2.Click "Delete".
The user selected beforehand is deleted without security query.