The Heidelberg User Interface
The user interface (Prinect Cockpit) of the Prinect Manager has been developed to give you the best possible overview of the system at all times. For this reason, a "flat" hierarchy was chosen for the displayed elements, avoiding overlapping windows where possible. It is easy to lose track of what you are doing, especially if several dialog windows, which may cover each other up, are open at the same time. As such, the user interface has been designed so that all important settings can be made in the main window of the application.
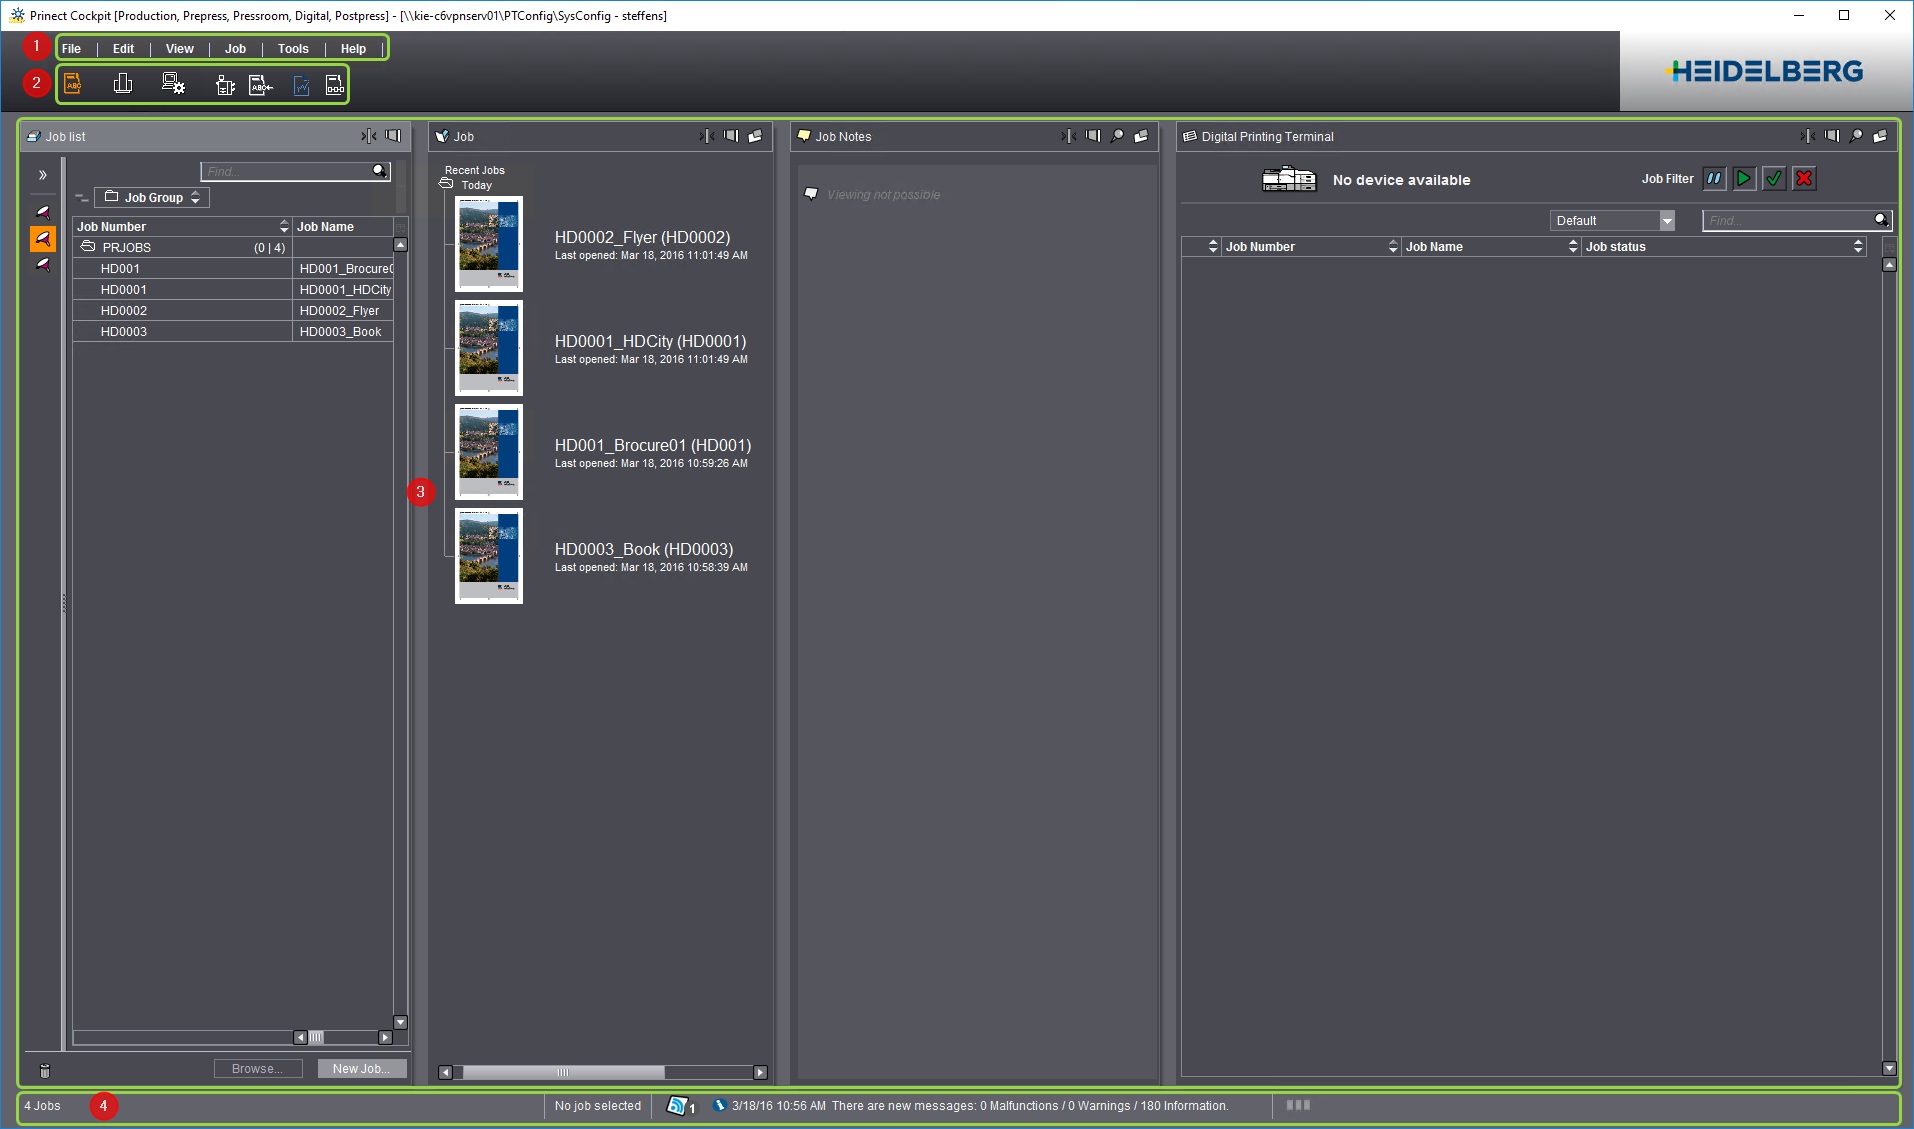
The user interface of the Prinect Manager consists of "static" and "dynamic" elements. The static elements are always visible, while both the appearance and the content of the dynamic elements can change depending on the work process currently being executed.
The user interface has the following static elements:
•Menu Bar (1) and
•Section Toggles (2)
The user interface has the following dynamic elements:
•Dynamic Windows (3)
•Dynamic Footer (4)
A menu bar with the "File, "Edit", "View", "Job", "Tools" and "Help" menus is located at the top of the GUI. The functions listed in these menus vary depending on which section ("Jobs", "Queues" or "Administration") you are in.

The section toggles are the central control element in the Prinect Cockpit.
They consist of icons for the "Jobs", "Queues", "Administration", "Digital Printing Terminal" (digital printing only), "Remote Access" (option), "Job Combiner" (option), "Analyze Point" (option) and "Scheduler" (option) sections. The contents of the dynamic window change when you switch section.
These sections represent the top hierarchy level within the Prinect Cockpit.
|
|
All the jobs that are currently in the system are listed in the "Jobs" section. They may be shown in defined groups or subgroups. You can make further settings and assignments or view information on the job, In addition, this is where you can create new jobs and open and set up jobs. |
|
|
You can find information about the various engines of the Prinect Manager in the "Queues" section. For example, you can find out which Prinect Manager computer the engines are installed on, what their current status is or how many jobs are currently waiting to be processed. |
|
|
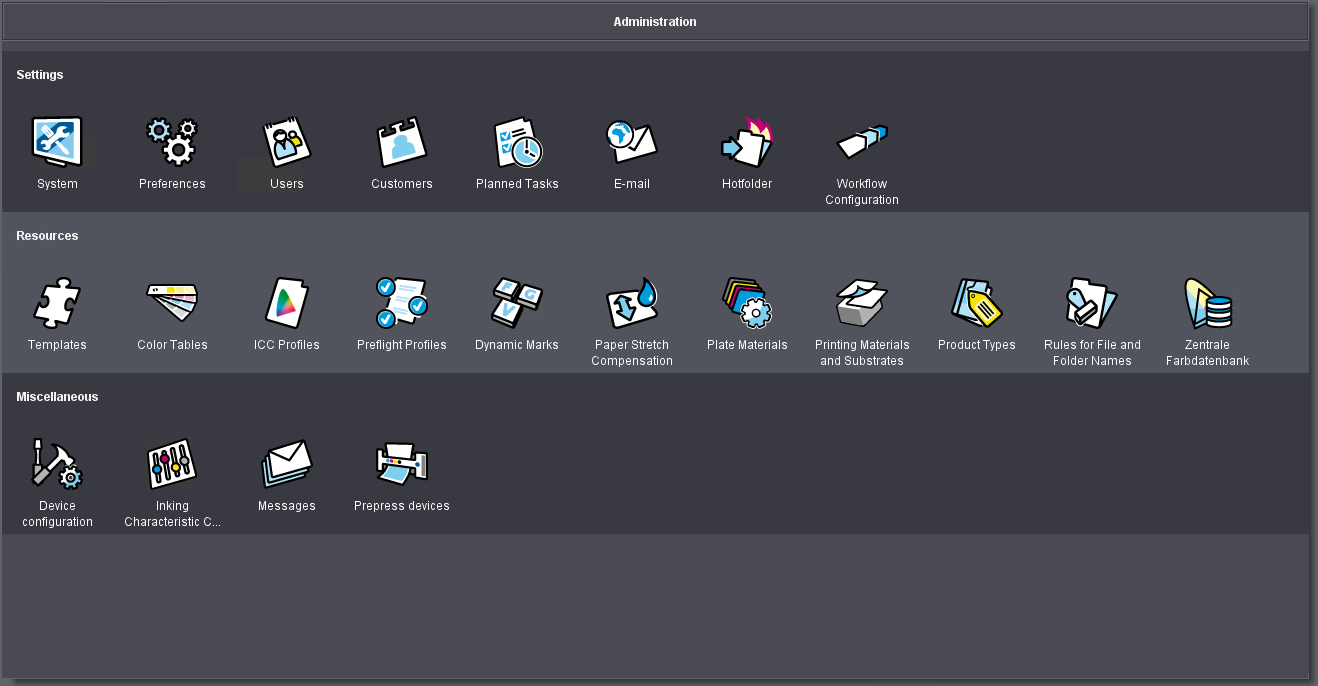
In "Administration", you will find all the tools you need for configuration and administration of the Prinect Manager, for example, system settings, user and customer administration, resources management, and in particular the setup of sequence templates. |
|
|
In "Digital Printing Terminal", you can manually control the print jobs that are waiting in the queue for processing on digital presses. This function is available only for Heidelberg digital presses with the "Prinect Digital Frontend" option. |
|
|
In "Remote Access" (option), you can define settings about the Remote Access workflow. |
|
|
All the PPF sheets that could not be assigned to a job display in the "Job Combiner" section. These PPF sheets must/can then be assigned to an existing job or a new job is generated from these PPF sheets. |
|
|
The "Analyze Point" section shows you information about all the connected machines and their jobs. When production has started up, current status information on the job in progress is displayed. Information such as the start and end times or the counter readings of the machines is reported and is always up-to-date at the time when the relevant action takes place. |
|
|
In the "Scheduler" section, there is an electronic scheduler at your disposal for all processes in the print shop. Here, you can schedule and reschedule jobs. |
The content of a dynamic window changes depending on which work context is currently active. The various workspaces that you can view using the section toggles display in dynamic windows.
View modes
The contents of a dynamic window can display in various view modes.
List view
You can display a great number of single elements on a small amount of space in a list, e.g. jobs in the job list. Lists often have several levels. You can customize the setup of many lists (see Customize list view).
If a list view displays, you can switch to a detailed view by opening an item in the list (e.g. a job in the job list). Generally, this is where you can set up your data or view details.
You can open a selected list item by the following actions:
•click a job in the job list
•double-click a list item
•click the "Open" button
•select "Open" in the context-sensitive menu
•use the shortcut "Ctrl+O"
•use the "File > Open" command.

Note: In all lists in the Prinect Cockpit, you can mark items and copy them to the clipboard with "Ctrl + C". You can then paste these items into a spreadsheet (Microsoft Excel) with "Ctrl + V". In this process, the column headers are used automatically as the first row in the spreadsheet.
Display of the steps in an open job
When you are in an open job, you can go to another step by clicking the icon of this step in the upper part of the window.
Tab view
If you are in a tab view, e.g. "Administration > E-Mail", you can switch to another section by selecting a tab.
Icon view
In "Administration", you open the various sections by clicking an icon.
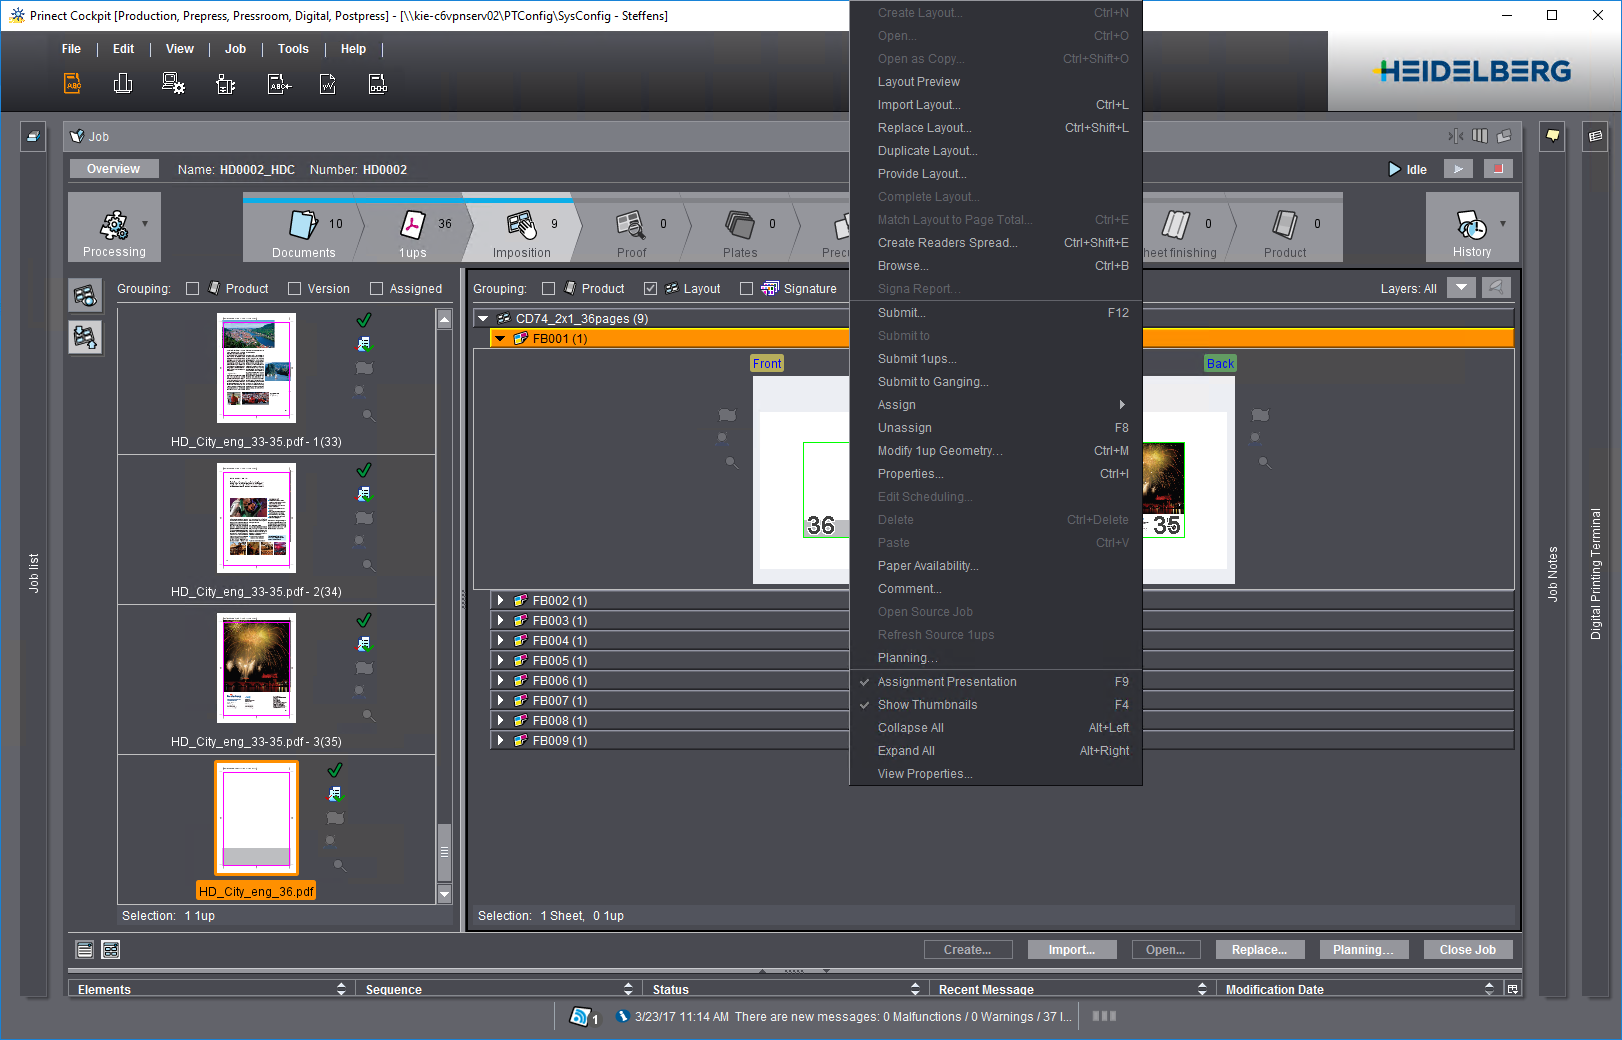
Context menus
Apart from the menus in the menu bar, you can also display a context-sensitive menu by right-clicking, for example, an item in the list. This menu has commands relating to the element you marked.
Buttons in the Dynamic Window
The lower part of the dynamic window usually has buttons for fast access to frequently used actions. The buttons that display vary according to the content of the dynamic window.
