Connection of Data Terminal with JDF Machine
Heidelberg provides all machine manufacturers with a JDF/JMF-based interface for the connection of machines to Prinect. If your machine has this interface, it can be connected online. This connection type is also described in Data Terminal with JDF Machine (Online Connection of Third-party Manufacturers).
Proceed as follows to connect a machine with a JDF/JMF interface:
1.Start the Prinect Cockpit.
2.Go to "Administration > System" and select the computer on which the Prinect Manager was installed.
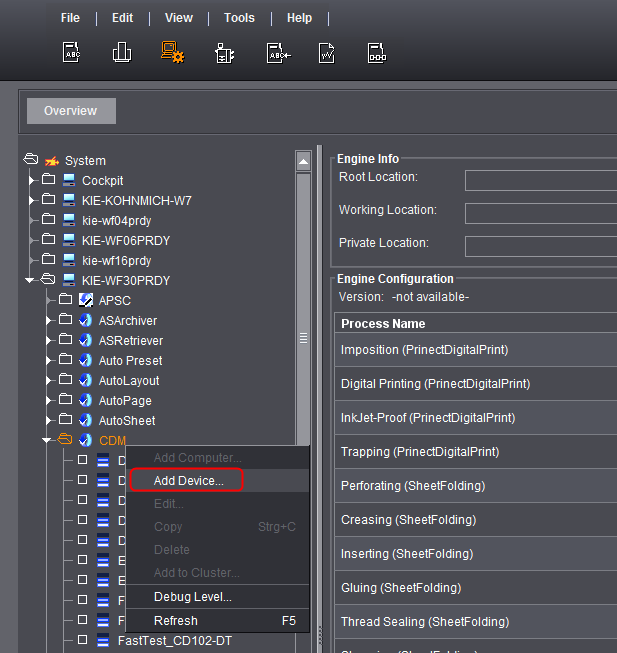
3.Highlight the engine "CDM".
4.Select "Add Device" in the context menu:
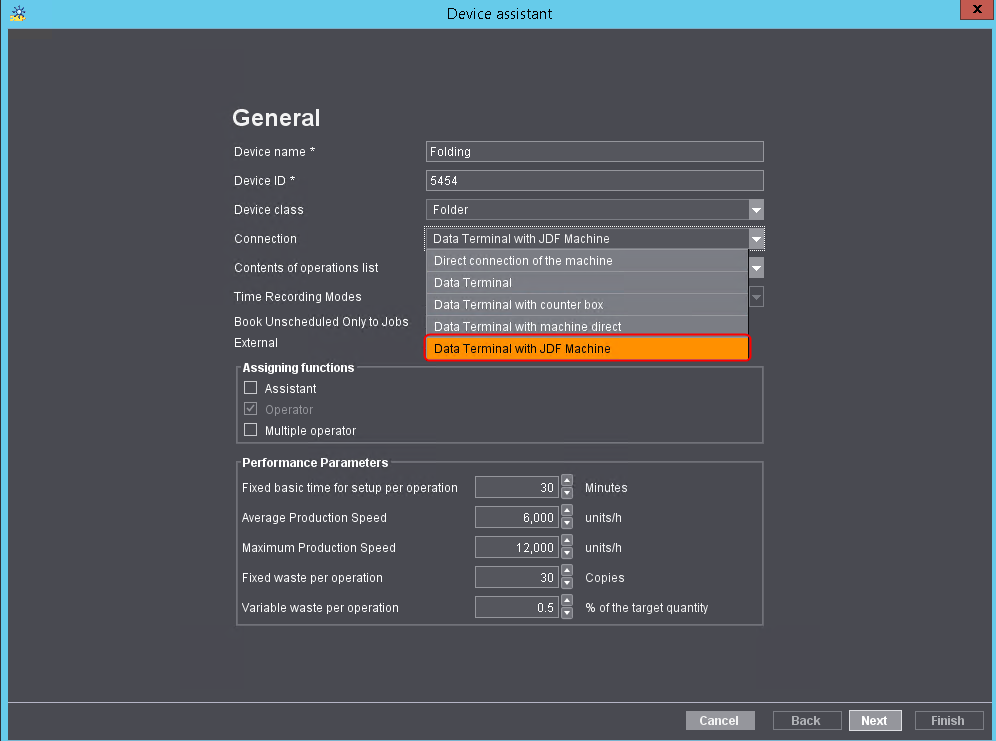
The "Device assistant" opens:
5.Select "Data Terminal with JDF Machine" in "Connection".

6.Define all other settings as far as "JDF Machine Configuration". For details, see:
7.Set the data for your machine in the "JDF Machine Configuration" step:

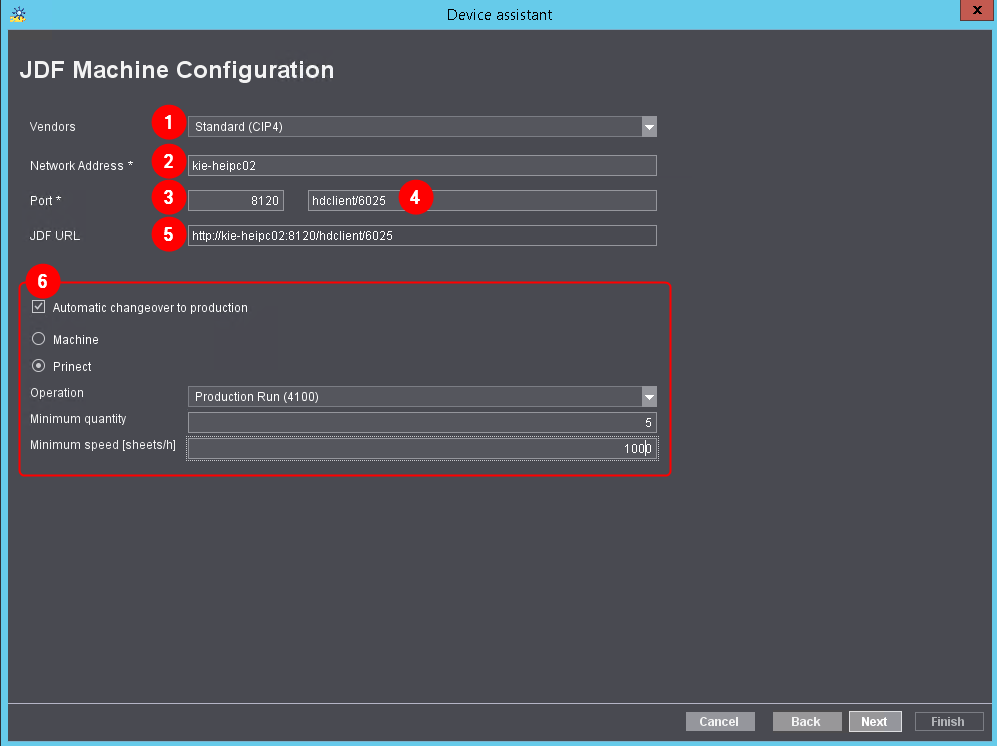
(1) "Vendors"
In a JDF/JMF interface, the machine communicates in compliance with CIP4 defaults. This setting is selected by default and you cannot change it.
(2) "Network Address"
Enter the name or IP address under which the machine is accessible in the network.
(3) "Port"
Enter the port through which the machine will be accessed.
(4) Service name (if required)
Some machines are also addressed through a service name. If this is the case, enter the service name in this box.
(5) "JDF URL"
The JDF URL is automatically made up of network address, port and service name, and the machine and Prinect communicate through it.
(6) "Automatic changeover to production"
Use this option to set how to switch between make-ready and production. The following cases are possible:
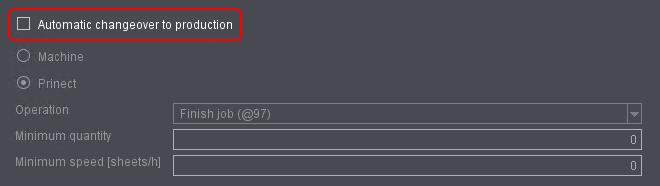
•Manual changeover
On the Data Terminal, the press operator presses a PDC message to change over from make-ready to production. In this case, disable "Automatic changeover to production".

•Changeover by machine
The changeover is done automatically by the machine by evaluating the device status. Not all machines have this facility. Contact your machine manufacturer if you are not sure.
In this case, set the options as follows:

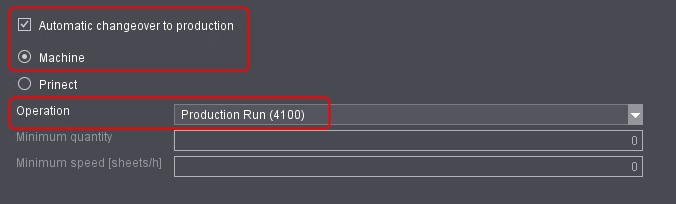
·Enable "Automatic changeover to production"
·Enable "Machine"
·Select Operation (PDC message) for the Production Run
•Changeover by Prinect
The changeover is done automatically by Prinect (analog to the counter box). The reported quantities of the machines are evaluated and the machine speed calculated. The changeover to production is automatic if a defined minimum quantity and minimum speed are reached.
In this case, set the options as follows:

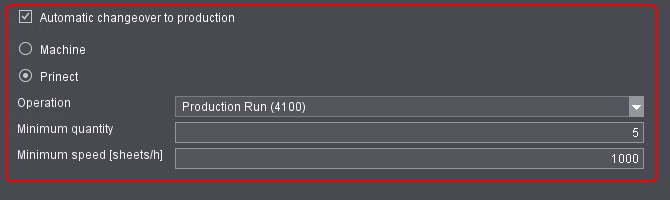
·Enable "Automatic changeover to production"
·Enable "Prinect"
·Select Operation (PDC message) for the Production Run
·Enter the minimum quantity and minimum speed to reach the production run.
8.Click "Next".
9.Set your data in the "Summary" step.
See Device Assistant - Summary.
10.Click "Finish".
You have now successfully set up the finishing machine with the JDF/JMF interface.
As a general rule, each job is sent to a certain press. However, if you have two or more printing presses with the same format in your pressroom and you do not want to decide which printing press to use to print the job until the last minute, you can send the job to several printing presses at the same time by using a cluster. If the job is started on a printing press (in terms of PDC), it is deleted from the queue of the other printing presses.
After you create a new device in the CDM, you can assign it to a cluster.
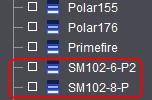
It is advisable to place machines with the same format and same connection type (for example, "Direct connection of the machine") in one common cluster. For example, SM102-6-P2 and SM102-8P. To do this, you must first create a cluster.

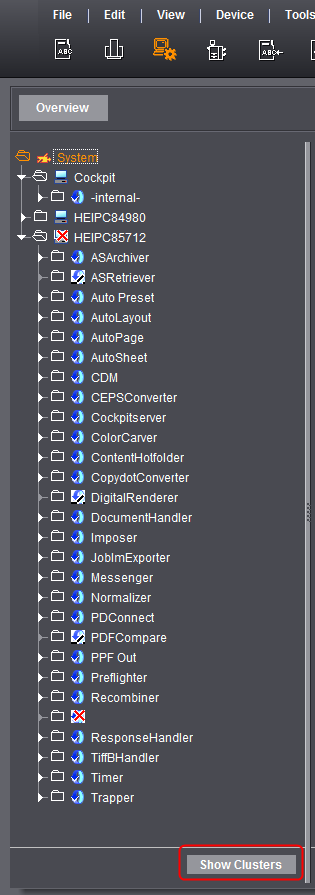
1.Go to "Administration > System" and click "Show Clusters":

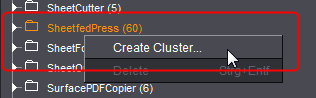
2.Scroll to the "SheetfedPress" folder on the right of the window and select "Create Cluster" in the context-sensitive menu. The "Create Cluster" dialog displays.

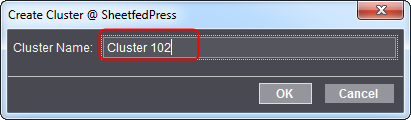
3.Here you specify a name for the cluster. The dialog closes automatically, and the cluster has been created. Now you must assign appropriate presses to the cluster.

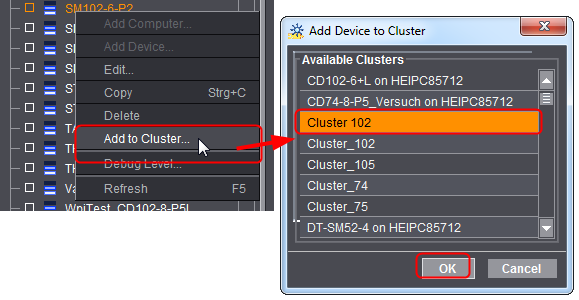
4.To do so, on the left of the window, select the press that you wish to add to the cluster in "CDM".
5.Select "Add to Cluster" in the context-sensitive menu.
The "Add setting to cluster" dialog opens.
6.Select the cluster you have created beforehand in the list box and click "OK".
The press is now part of the cluster.
7.Repeat steps 4-6 for all presses you want to include in the cluster.