Note: Transfer curves can only be saved if the process curve rises monotonously. If this is not the case, the corresponding section in the process graph is red and the "Save" button dimmed.
1.Go to "Administration > System".
2.Highlight the Prinect server (computer name of the server).
3.Scroll to the "JDF Connector Service" section.
4.Click the "Properties" button beside "PPF Import".
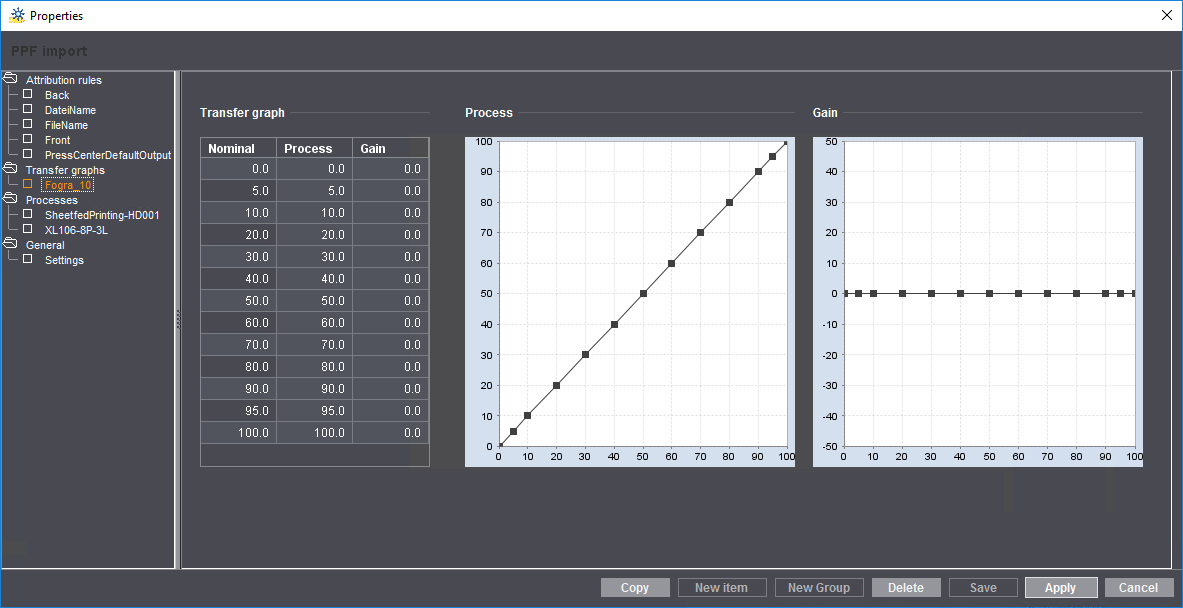
The PPF import configuration window opens.
5.Highlight the "Transfer curves" folder.
6.Select "New item" in the context menu.

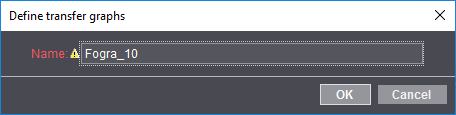
7.Enter the name of the new transfer curve.
In our example "Fogra_10".
8.Click "OK".
The new transfer curve is created. In the transfer graph view, you can now define the properties of the transfer curve.

9.Highlight the percentage tonal value in the table to which you wish to assign a dot gain.
10.Enter the related value in the "Gain" box.
The set gains are applied immediately and the printing characteristic curve is refreshed.
11.Now highlight the next percentage tonal value in the table and enter its gain.

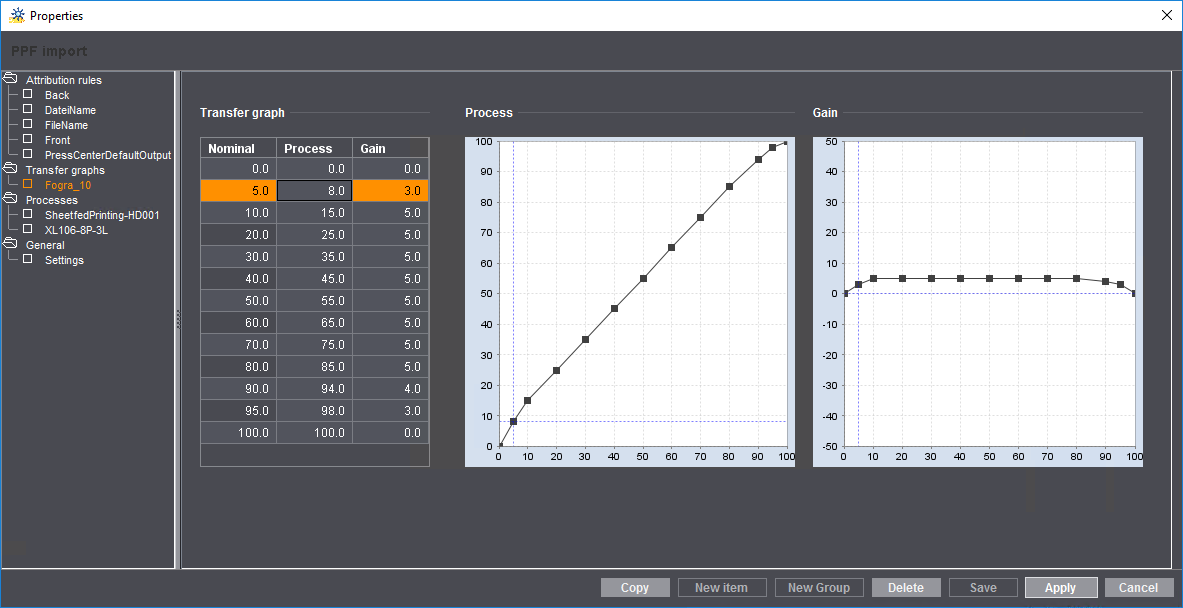
12.Click "Save" after you entered all the values.
1.On the left in the open "Transfer graphs" folder, click the transfer curve you wish to edit.
Its settings display on the right and you can edit them there.
2.Edit the transfer curve.
This procedure is described in detail in the section Creating a transfer curve.
3.Click "Save".
The changes are saved.
1.Highlight the transfer curve to be deleted.
2.Click "Delete".
3.Confirm the alert message with "OK".
Process job manually or automatically?
Under certain circumstances in a PPF workflow, not all the required job data are in the PPF/CIP file, depending on your prepress system. Manual job processing would be suitable here to allow you to add job data later on, such as the customer name, number of impressions or due date.

Note: If you wish to check your jobs first or add job data, you have to configure manual job processing. This means you have to disable the "Autostart" option in the process ("Basic configuration" section). Please note that you have to set this option accordingly for all defined processes.
If the "Auto start" option is activated, the job is automatically started and can no longer be stopped.
In the PPF workflow, you must have always selected "Job attachment from PPF" ("Basic configuration" section). Only then is a job automatically created from the PPF/CIP file supplied by the prepress system. If this option has not been activated, manual intervention is necessary.
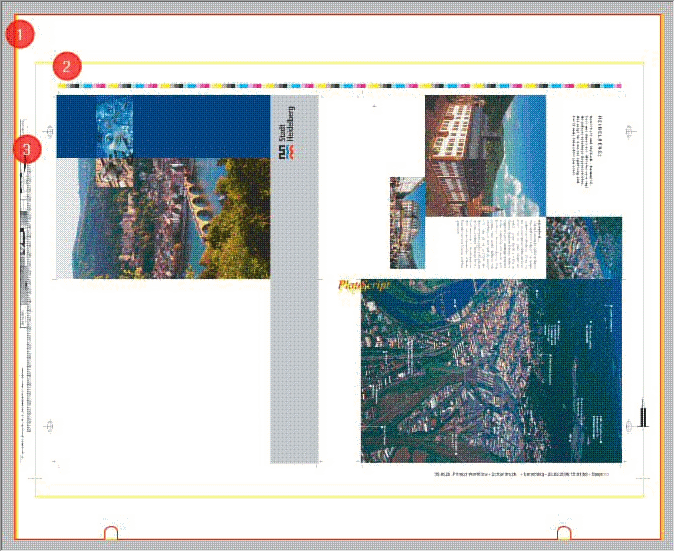
Calculating area coverage values and ink consumption for paper only
In practice, there are cases in which image data (3) are also present on the printing plate (1; red frame) even outside the paper to be printed (2; yellow frame) (see illustration below). For example, there can be plate control elements which are not printed. In order to calculate the ink consumption correctly in these cases, only the part of the sheet in which the paper (2) is also present may be taken into account in the calculation. The paper information must be transferred correctly from the prepress system in order to produce a correct calculation. As this is not guaranteed on all prepress systems, this function must be specifically activated.