The Montage Editor lets you place single pages or 1ups of a page list interactively, irrespective of the size on the sheet surfaces (front and back).
The "Montage Editor" window opens after you click the "Montage Editor" button.
The page list last selected or the document last selected in the "Digital Printing" step displays on the left of the window. The workspace, that is the size of the paper minus the non-printing margin, displays on the right of the window.
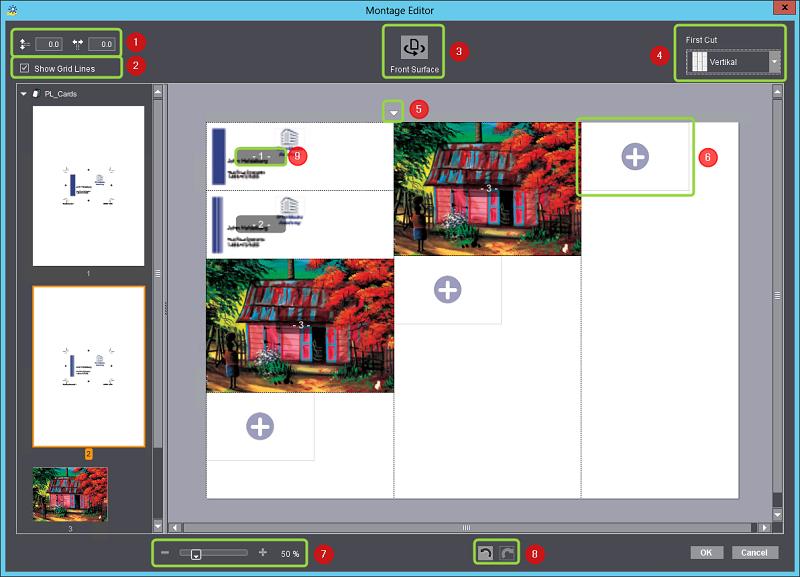
The Montage Editor has the following controls:
(1).Input boxes for spacing: This is where you can set the vertical and horizontal spaces between the placed objects.
(2)."Show Grid Lines" option: You can use this option to show and hide the 1up borders and cut lines.
(3).Toggle between front and back: You can place 1ups both on the front and on the back. If 1ups are already on the front, these objects come across as "transparent" in the back view, in other words they are mirrored and transparent. In this way, you can correctly place fronts and backs of single 1ups that belong together.
(4).Selection of the orientation of the first cut: This is where you can define the main cut direction (horizontal or vertical). Depending on what you select here, the 1ups are rearranged on the workspace.

Note: The Montage Editor generates cutting data in order for jobs that use a Montage layout to be cut automatically. The cutting data comprise a main block comprising all 1ups and inner cut blocks that are guided by the main cut direction.
(5).Spacing in the main cut direction: When you click such a triangle, an input box displays where you can enter the space between the main cut lines, oriented as for the first cut.

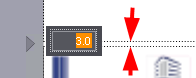
If a number of unbroken main cut lines are possible on the workspace, then an appropriate number of other spacing triangles are shown.
(6).The plus sign with the bounding box shows the next placement possible for further 1ups. When you mark a 1up element on the left, you can drag-and-drop it to this box. The size of the bounding box is matched to the size of the selected 1up. Instead of this, you can also first click a 1up on the left and then click the matching plus sign on the workspace. This places the 1up on the workspace.
(7).Scale-up control: This lets you set the scale-up factor of the workspace.
(8).Undo and redo buttons: You can use these buttons to undo single actions or redo actions that were undone.
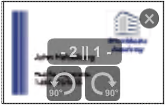
(9).Page numbers and rotation: The page or 1up number of each 1up displays. Both numbers display if 1ups are placed on one place on the front and back. Rotation buttons display while the mouse cursor is over a 1up. This lets you rotate the 1up by 90° or in counterclockwise direction. Both the front and back of the 1up are rotated.