
Prerequisite: You can only edit existing traps in the Prinect PDF Toolbox if you have a valid license for it.
|
|
Prerequisite: You can only edit existing traps in the Prinect PDF Toolbox if you have a valid license for it. |
(1).If necessary, select the "Selected" option in "Highlight". This makes your work much easier.
2.Select the traps which are to be changed.
(3).If necessary, select a suitable color for highlighting the selected trap.
The current trapping parameters are shown in the "Description" section.
4.Click  .
.
5.Change the parameters (color, direction, width, ...) of the selected traps.
6.Click "OK".

|
Note: Only when the PDF document is saved are the changes made permanently saved. |
See:
1.Select the traps which are to be changed.
2.Click  .
.
(3).If necessary, first select the unit of measurement you want for entering and showing the trap width.
4.Then type the trap width desired in the "Width/Height" field. You can now enter the value for the trap width in vertical direction in the right input field.
5.Click on "OK" to apply the desired changes.
1.Select the traps which are to be changed.
2.Click  .
.
3.Click the button with the arrow symbol  several times to change the direction of the selected trap.
4.Click on "OK" to apply the desired changes.
1.Select the traps which are to be changed.
2.Click  .
.
(3).First select the color separation whose value you wish to change.

|
Note: The "~" sign in front of a separation color value marks an average color value (e.g. for images and smooth shadings). |
4.Change the value for this separation in the input field. The sign “-” sets the separation concerned to "Overprint".
(5).If necessary, repeat the last two steps to change the other separation values.
6.Click "OK" to apply the desired changes.

|
Prerequisite: The "Trap Selection" radio button is set to "Single". |
1.Select the traps which are to be changed.
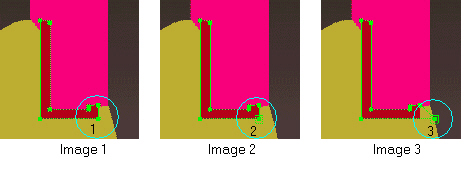
2.Click ![]() . The selected trap is outlined in the color selected under "Highlight".
. The selected trap is outlined in the color selected under "Highlight".
You can now change the path at any point with the help of the square handles.
3.First click the handle to be changed. The point is then highlighted with a thin line.
4.Make the changes you want. See Editing the path with the Path Editor.
5.Click "OK" to save your changes. "Cancel" discards any changes you made. The trap path editor mode is exited.
HD Privacy Statement | Imprint | Prinect Know How