
Connect Prinect Rendererto a Prinect Manager
1.Go to "Administration > JDF Portal":
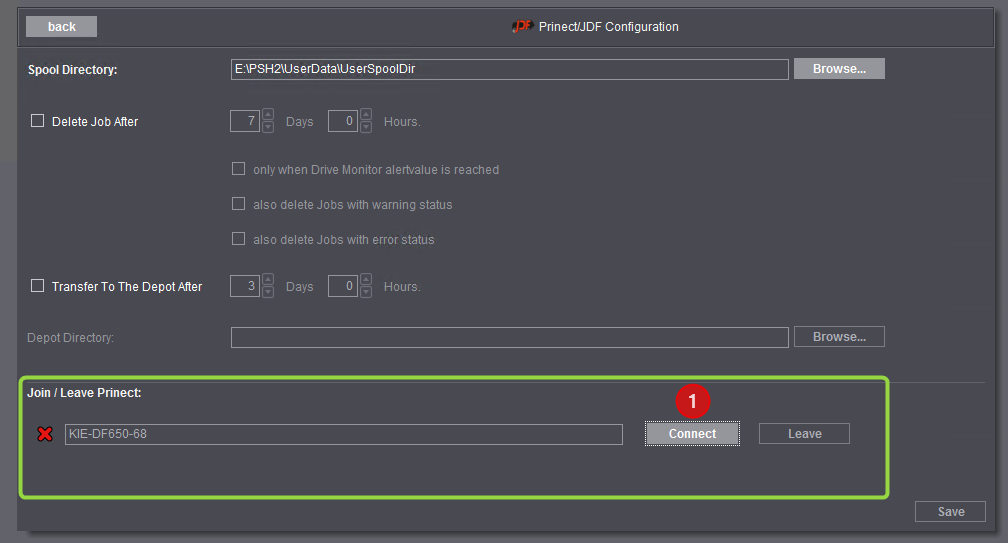
2.Click "Connect" in "Join / Leave Prinect" (1). The following dialog opens:

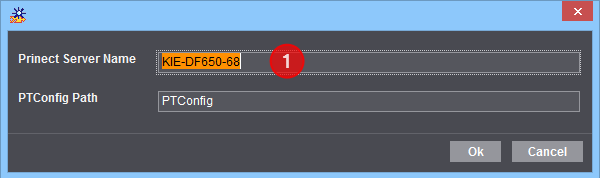
3.Type in the computer name of the Prinect Manager server in "Prinect Server Name" (1). Normally, you should leave "PTConfig" in "PTConfig Path" as it is. Exception: The folder containing the Prinect system configuration has a different name to "PTConfig". Confirm the dialog with "OK".
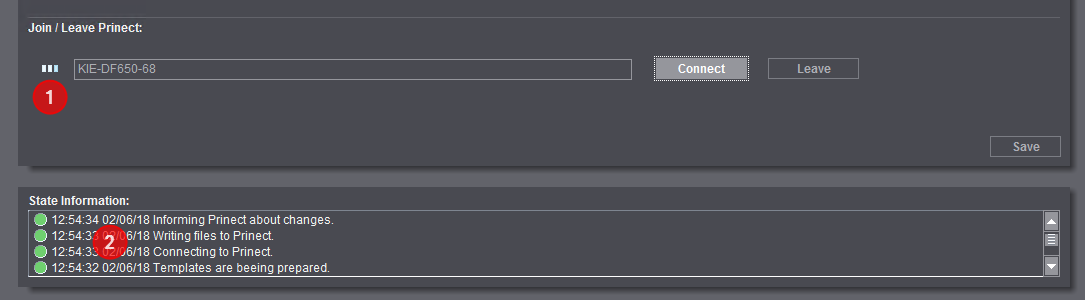
An animated icon (1) indicates that the connection is being set up. "State Information" (2) displays the results of each of the connection actions.

4.A green dot to the left of the Prinect server name (1) indicates that the connection is set up. The message "Joining Prinect was successful" (2) displays in "State Information":

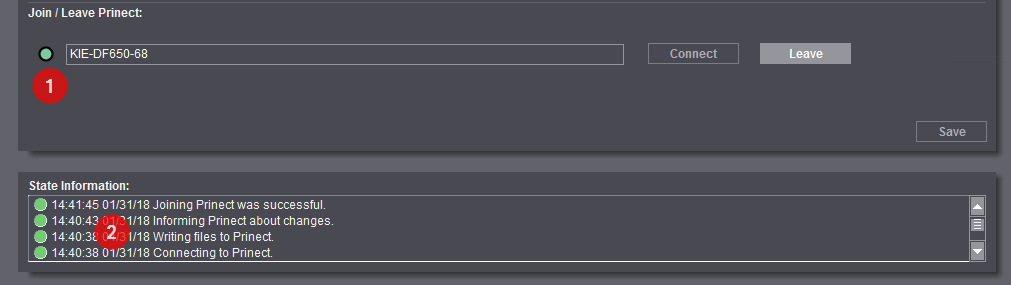
Prinect Renderer is now connected to the Prinect Manager.
Connect Prinect Renderer to the Master Data Store (MDS) of a Prinect Manager

Caution: Disconnection and changing of the automatic connection to the MDS is necessary only in special cases in issues occur. Normally, no changes by the user/administrator are required in this section.
You can connect Prinect Renderer to the Master Data Store (MDS) of a Prinect Manager. Prinect Renderer then transmits various data about the connected CtP device (status, available plate material, etc.) to the Master Data Store. As a result, these data are available throughout the whole system environment of the Prinect Manager.
In addition, the user administration of Prinect Renderer is connected to the user administration of the Prinect Manager.
1.Go to "Administration > MDS" and enable the "Use MDS (Master Data Store)" option (1):

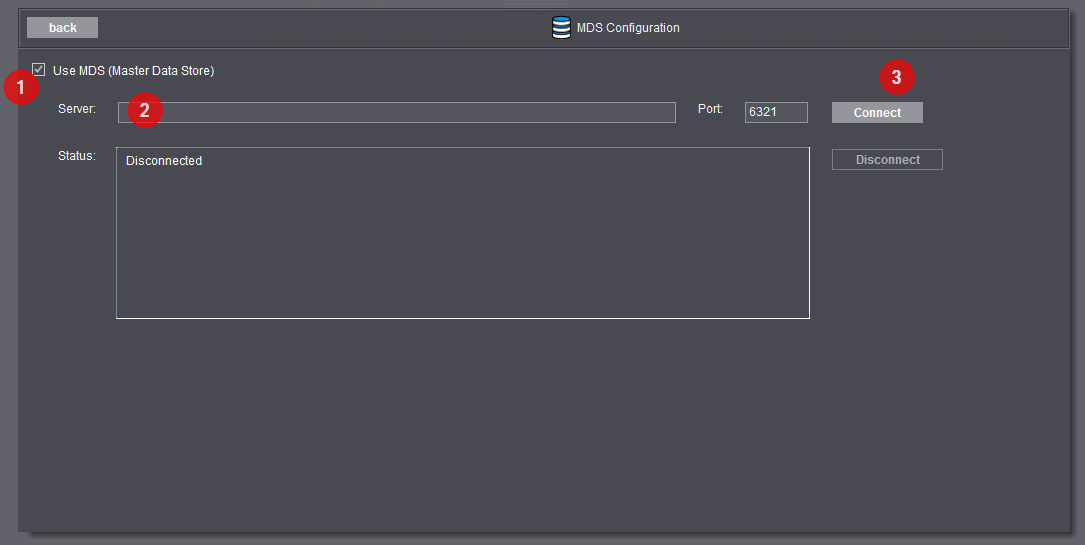
2.Type the name of the Prinect Manager server into the "Server" box (2) and click "Connect" (3). The port number 6321 is entered automatically and generally may not be changed.

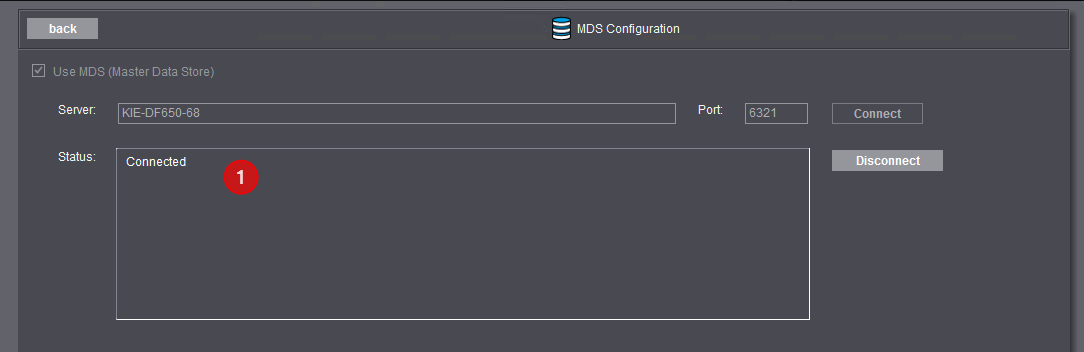
When connection is successful, "Connected" displays in the "Status" box (1).