Automatic gap computation makes sure that folding sheet margins and gaps are matched automatically to fit the maximum number of folding sheets on the paper and at the same time that the folding sheets together take up as much of the whole printing material size as possible, making as few cuts as possible necessary. This takes into account the set binding method. For example, for "Loose Binding", the spacing between the pages is evenly distributed; in saddlestitching, there is no spacing between the pages in the back margin.
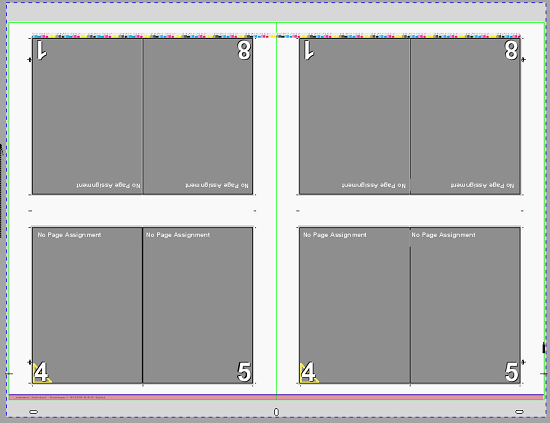
Example with saddlestitching:
There are different options for running calculation:
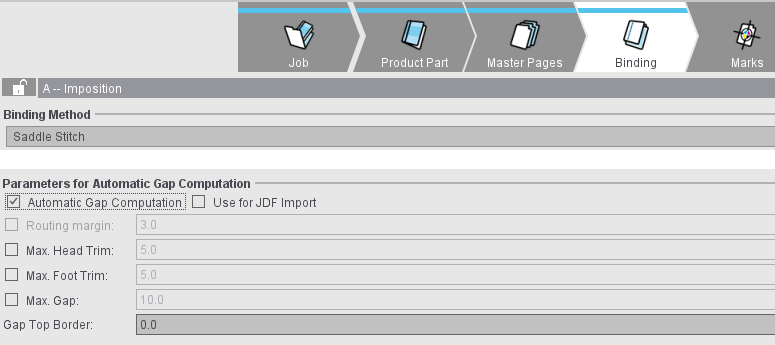
1.In the "Binding" step, you can enable automatic gap computation as a set option for the product part. This setting makes sure that, if changes are made in the product part, automatic gap computation is run again.
2.In the "Schemes" step, single schemes can be excluded from this automatic mode (1).
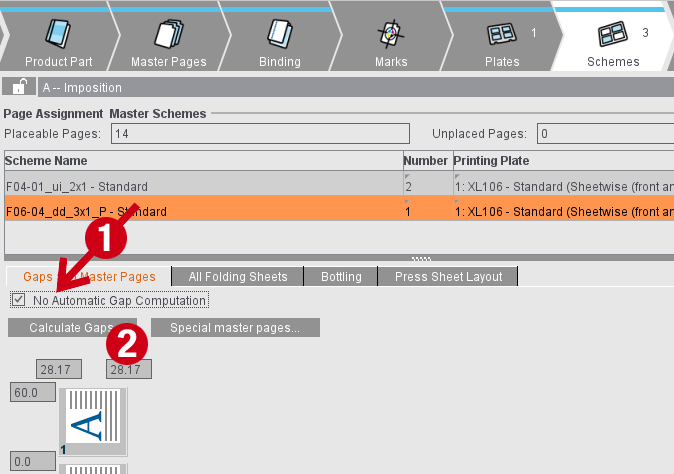
3.You can manually run gap computation using the "Calculate Gaps" button (2) in the "Schemes" step. The button is active when the automatic mode is switched off in the "Binding" step or the current scheme is excluded.
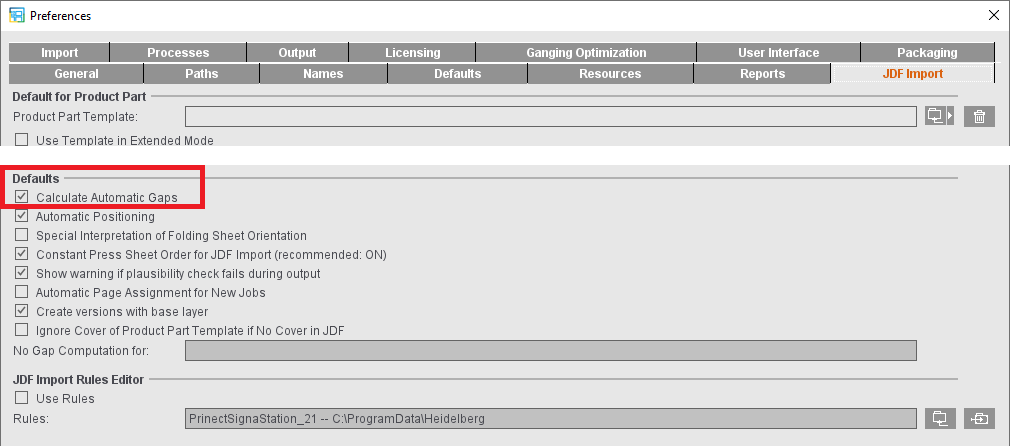
4.For a JDF import without a product part template, you can enable automatic gap computation in the Preferences. This setting then makes sure that automatic gap computation is enabled in the "Binding" step in the product part created.
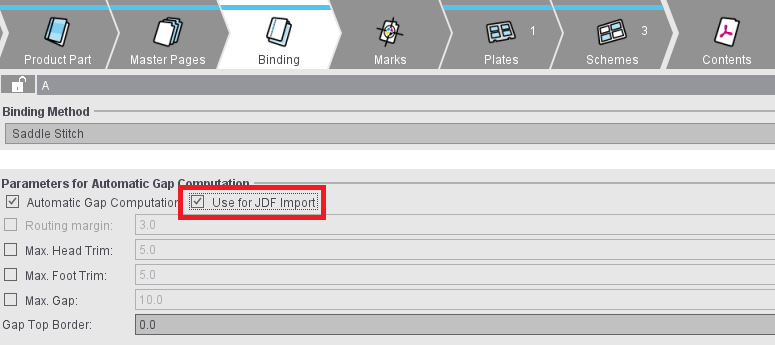
5.For a JDF import with a product part template, you can set in the product part template which setting will be used. The "Use for JDF Import" option is available in the "Binding" step. When this option is enabled, the setting for automatic gap calculation from the product part template will be used. If not, the setting from the Preferences is used.
The calculated margins and gaps are made up of two parts. A static part that is permanently entered and a dynamic part that depends on the available space and constraints that can be set. The two parts are added up.
Static part
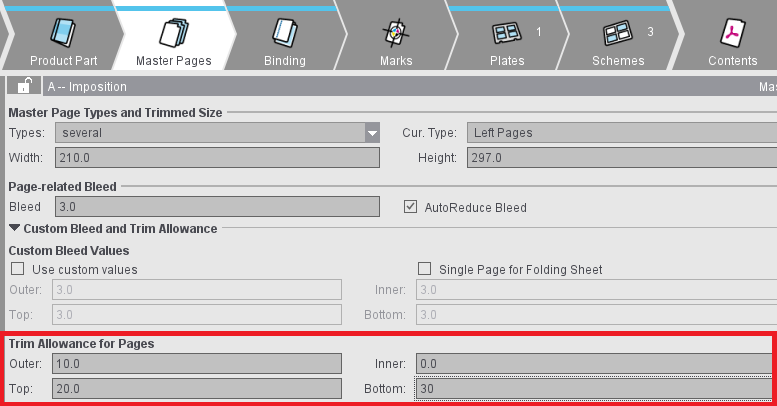
Trim Allowance
In the “Master Pages” step, you can define additional margins for all master pages. "Inner" refers to the margin in the back margin, "Outer" to the opposite margin and "Top" and "Bottom" to the top and bottom margins of the page.
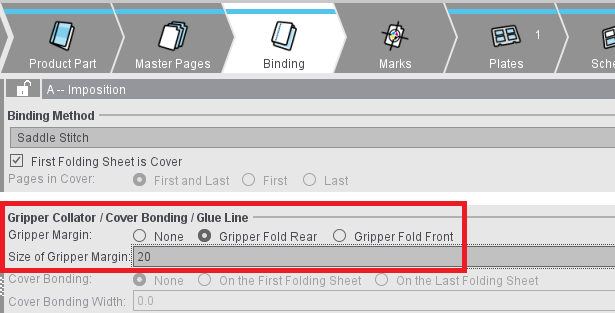
Gripper Collator (front/rear fold)
An outer additional margin is needed on all pages either before the center fold (front fold) or after the center fold (rear fold) so that saddlestitcher can grip a folding sheet in such a way that the folding sheet opens in the middle and is placed correctly on the line. This margin can be set in the "Binding" step. When this setting is enabled, a margin in addition to the "Outer" trim allowance defined in the master page is added on all pages before or after the center fold.
Dynamic part
You can define settings for the dynamic part of gap calculation in the "Binding" step.
Maximum head trim
If this option is active, the margins or gaps at the top of the page are only enlarged by the maximum value set. If possible, the remaining space will be spread over the foot trims. Limiting the head trim may be necessary for saddlestitchers and perfect binders that align the folding sheets along the head. This setting together with "Maximum Foot Trim" or "Maximum Gap" may result in a situation where all of the available area cannot be utilized.
Maximum foot trim
Similar to the maximum head trim for restricting the foot trim. Required for saddlestitchers and perfect binders that align the fold sheet on the foot. This setting may also result in all of the available area not being utilized to the full.
Maximum gap
Limits the dynamic part of all margins and gaps. Unless explicit values for maximum head trims or foot trims were set. This setting may also result in all of the available area not being utilized to the full.
Gap Top Border
If a positive value is entered in this box, gaps and margins of the folding sheets are enlarged only to the extent that an area still is not used at the top of the press sheet.
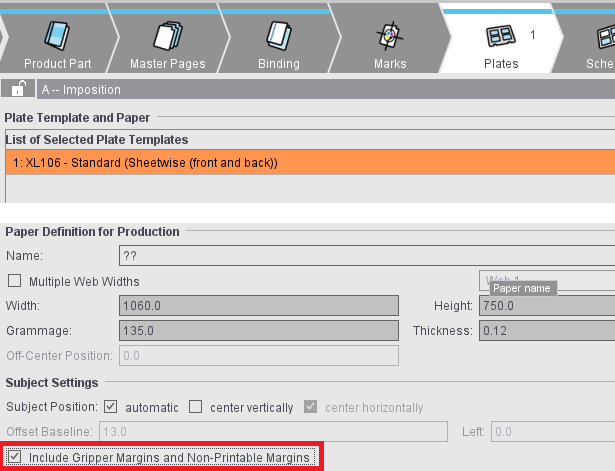
Include Gripper Margins and Non-Printable Margins
Another setting that can impact gap computation is in the "Plates" step. The "Include Gripper Margins and Non-Printable Margins" option makes sure that the page content is not in the non-printable area. In some circumstances, this can only be achieved by not pushing the margins and gaps to the edge of the paper.
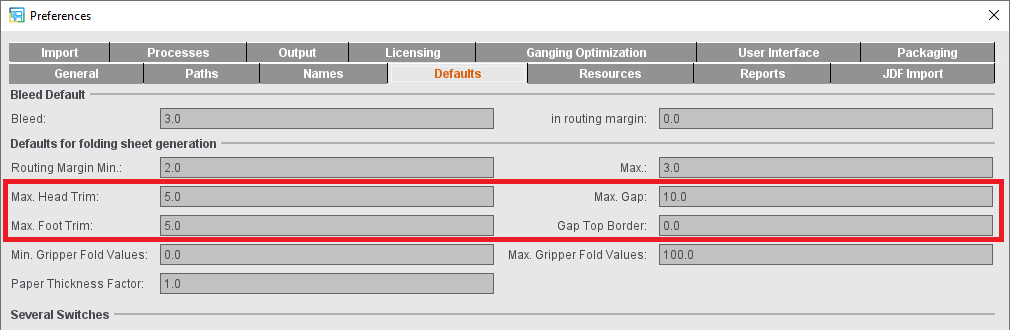
Preferences
For new product parts, you can define the setup for gap calculation in the Preferences.