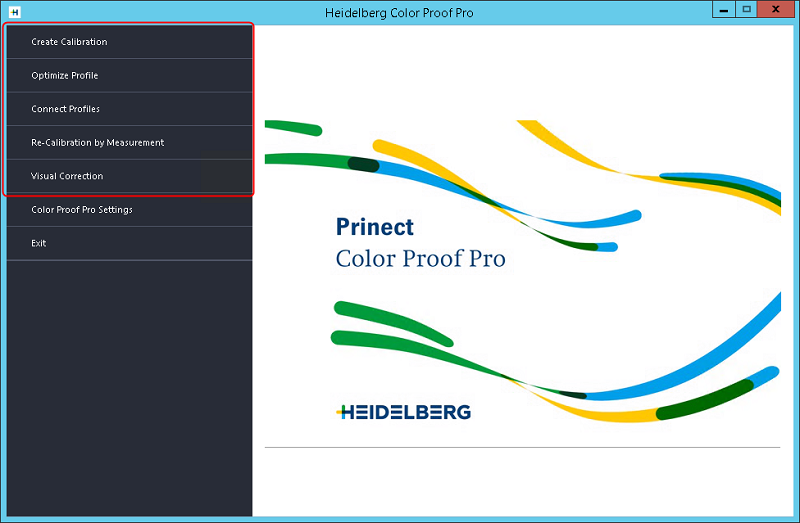
The modules for printer calibration and generation of paper profiles are located above the "Color Proof Pro Settings" button in the startup window.

Note: The calibration procedure is similar for all output devices, but the parameters offered in the modules can vary, depending on the connected printer and the measuring device used.
You should run the steps for calibration in the following order:
1.Set up printer (only if the respective printer has not been set up yet) (see Setting Up a New Printer).
2.Create calibration (see Create Calibration)
With this module, you create the calibrations for the printers. At the same time, this process also generates template files for creating color profiles. With these templates, you can create color profiles (ICC profiles) using a suitable software, for example, Heidelberg Prinect Color Toolbox.
3.Optimize profile (see Optimize Profile)
This step is intended for printers with integrated measuring device only.
It is not possible to perform a conventional profile optimization for printers with integrated measuring device because it is impossible to load a printed test chart into the printer to have it measured there. To this end, you can print a test chart in the "Optimize Profile" module using a paper profile created beforehand and then immediately measure it. While doing so, you must specify a reference profile to match the optimized paper profile to the output workflow of an offset press, for example.
4.Link profiles and calibration: Connect Profiles (see Connect Profiles)
In the "Connect Profiles" module, the paper profiles are linked to their respective printer calibration file (.epl file), and the result is immediately copied to the CPPro profile folder in "MyProfiles". You must repeat this step for each new paper profile you create.
5.Recalibration by measurement (see Re-Calibration by Measurement).
With this module, you can check the color consistency of your printer using a measuring device and readjust it if necessary.

Note: Recalibration should run in the following cases:
·if a paper profile not created with the same printer is to be used,
·if inks were changed,
·if a print head was replaced,
·if you discover that your proofs don't match earlier results.
6.Visual correction (Visual Correction)
With this module, you can set the recalibration of a printer by visually assessing printed test charts.