
How do I generate a new job from a non-assigned PPF file?
Note: This should only be employed in special cases. Otherwise, if a job number happens to have been used that is later used by the Management Information System (for example Prinect Prinance), this can result in problems when the Management Information System transfers the new job with the same job number.

Note: A new job is only generated if the job number (in the PPF file) does not yet exist in the system. If a job with this job number already exists the PPF file will be assigned to this and no new job will be created. The job number in the PPF file is assigned to the new job.
1.In the "PPF Input List" section, highlight the PPF file from which you want to generate a new job.
2.Right-click to display the context-sensitive menu and select "Continue sheet conversion".

Note: Sheets witht the same job number are automatically assigned to the new job. However, this requires that the "Define new sheets" option is already enabled in the general process settings (see "Define new sheets" option).
If the color values are not known when processing the job (in the PPF file or in the Master Data Store), the job is stopped and marked with the "Define spot color" symbol.
The procedure for defining one or more spot colors in a sheet is described below using an example. In this example, a sheet with the process colors "CMYK" and the undefined spot color "silver" has been stopped.
In the "PPF Input List" section of the "Job Combiner", the stopped sheet is shown by the following icon:
Proceed as follows to define a spot color:

1.Double-click on the sheet.
The following "Assign colors" dialog window appears with the spot colors to be defined.

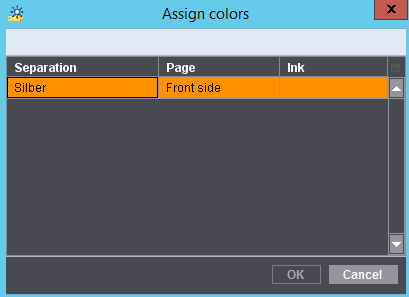
•In our example the spot color "silver" has to be defined. Only when the spot color is defined is the "OK" button enabled and the sheet processed following confirmation.
2.Double-click on the spot color "silver".

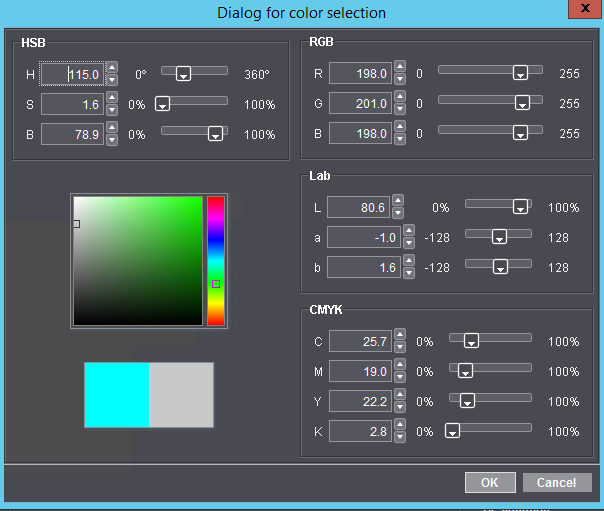
Several options for defining the spot color are available to you here:
·HSB color system
·RGB color system
·L*a*b* color system
·CMYK color system
·Hue field with color saturation
In this example, we will define the special color using the hue field.
1.First of all, click on the desired hue in the hue column.
The selected hue is indicated by a selection mark (white square).
2.Then click in the color saturation field.
A selection mark appears (white square).
3.Click on the selection mark, hold down the mouse button, move the mouse pointer to the desired position and release the mouse button.
4.Click "OK".
The special color "silver" has now been defined. The "Assign colors" dialog window appears again.
Once you have defined all the spot colors, the "OK" button is enabled.

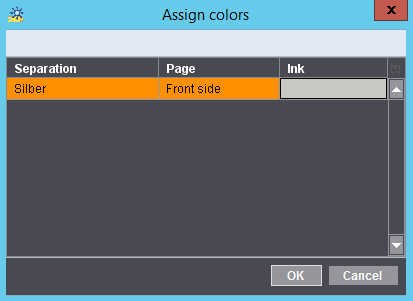
5.Click "OK".
The following prompt appears:

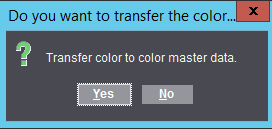

Note: The defined spot color is only transferred to the Master Data Store (MDS) if you confirm the query with "Yes". If you answer the query with "No", the spot color is only transferred for this sheet. In this case you have to define the special color again for each new sheet.
6.Confirm the prompt by clicking "Yes".
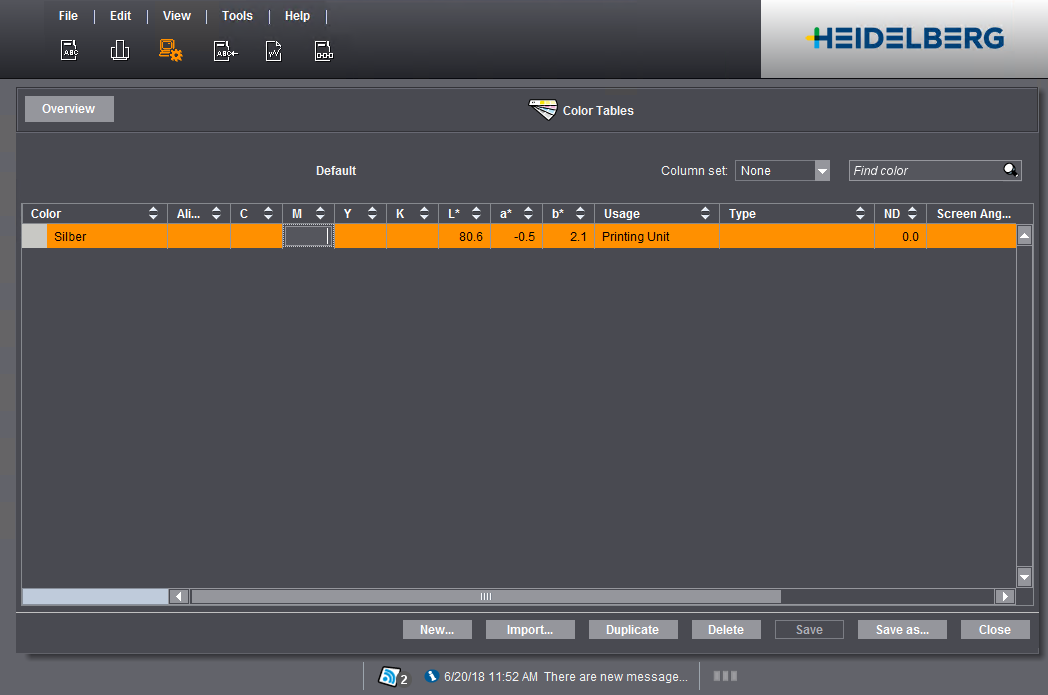
The defined special colors are saved in the Master Data Store (MDS) in the "Default" color table.
Processing of the sheet now continues automatically.
Is the defined special color transferred into the Master Data Store?
Only if you confirm the prompt "Transfer color to color master data" with "Yes" when defining the spot colors. The spot colors are then automatically saved in the "Default" color table in the Master Data Store ("Administration > Resources > Color tables"). As a result, these special colors are used automatically for a new sheet. Double-click on the color table to open it. In our example the two spot colors "silver" and "HD_blue" have been defined and transferred.
The different working methods of the connected prepress systems can be customized using the combiner. For example, some prepress systems output the separations of a sheet individually (one PPF file for each separation). With the Combiner, these individual separations can be combined to form one sheet.
The Prinect Manager/Prinect Pressroom Manager supports the following variants for combining sheets:
•Manual combination of sheets
This means that you can manually combine as many sheets (separations/sides) as you wish to form a new sheet in "Job Combiner".
•Semiautomatic combination of sheets
This means that you can combine several separations/sides at the same time to form a new sheet in "Job Combiner".
•Automatic combination of sheets
The sheets are automatically combined during processing if you enabled the "Automatic combiner" option in the relevant process. You will find a detailed description of this in chapter PPF Workflow — General.
What do I need to be aware of when combining?
With all variants it is only possible to combine sheets/sides if the jobs have been processed using the same process, among other things.
Which cases of use can be realized manually/automatically?
The following table lists the cases of use relevant in practice. The "manual" and "automatic" columns show you at a glance the variant in which the combination can take place.

Note: The previous sheets can be retained if the newly combined sheets are saved under a new name.
|
Case of application |
Manual |
Automatic |
|---|---|---|
|
The prepress system imposes according to separation: •Combine n-separations to one job |
Yes |
Yes |
|
The prepress system imposes according to side: •Combine two sides (front/reverse) to one sheet |
Yes |
Yes |
|
The prepress system can only output front sides: •Combine two front sides to one sheet with front and reverse sides |
Yes |
No |
|
Swapping separations of a sheet from the front <-> back |
Yes |
No |
|
Separating sheets with front and reverse sides to two sheets with only front sides |
Yes |
No |
|
Adding an individual varnish separation to a sheet later on |
Yes |
No |
|
Versioning: •Only one "black" separation of the whole job is taken into account |
Yes |
No |