Privacy Policy | Imprint | Prinect Know How | Prinect Release Notes ![]()
Changing marks assignment and print order
 Prerequisite: To make changes to a PPF job, the job must be in a status where editing is possible. This is the case when the job is in the "Warning" status (yellow dot in the "Status" column) or in a copied job, i.e. when the "Duplicate" function was used. See Duplicate PPF file.
Sometimes, you need to assign the colors of a print job to new colors or marks color for printing. This is the case if a spot color is to be assigned to a multiple process color.
It may also be necessary to change the print order of colors in a job to match the situation at the press.
Proceed as follows to do this:
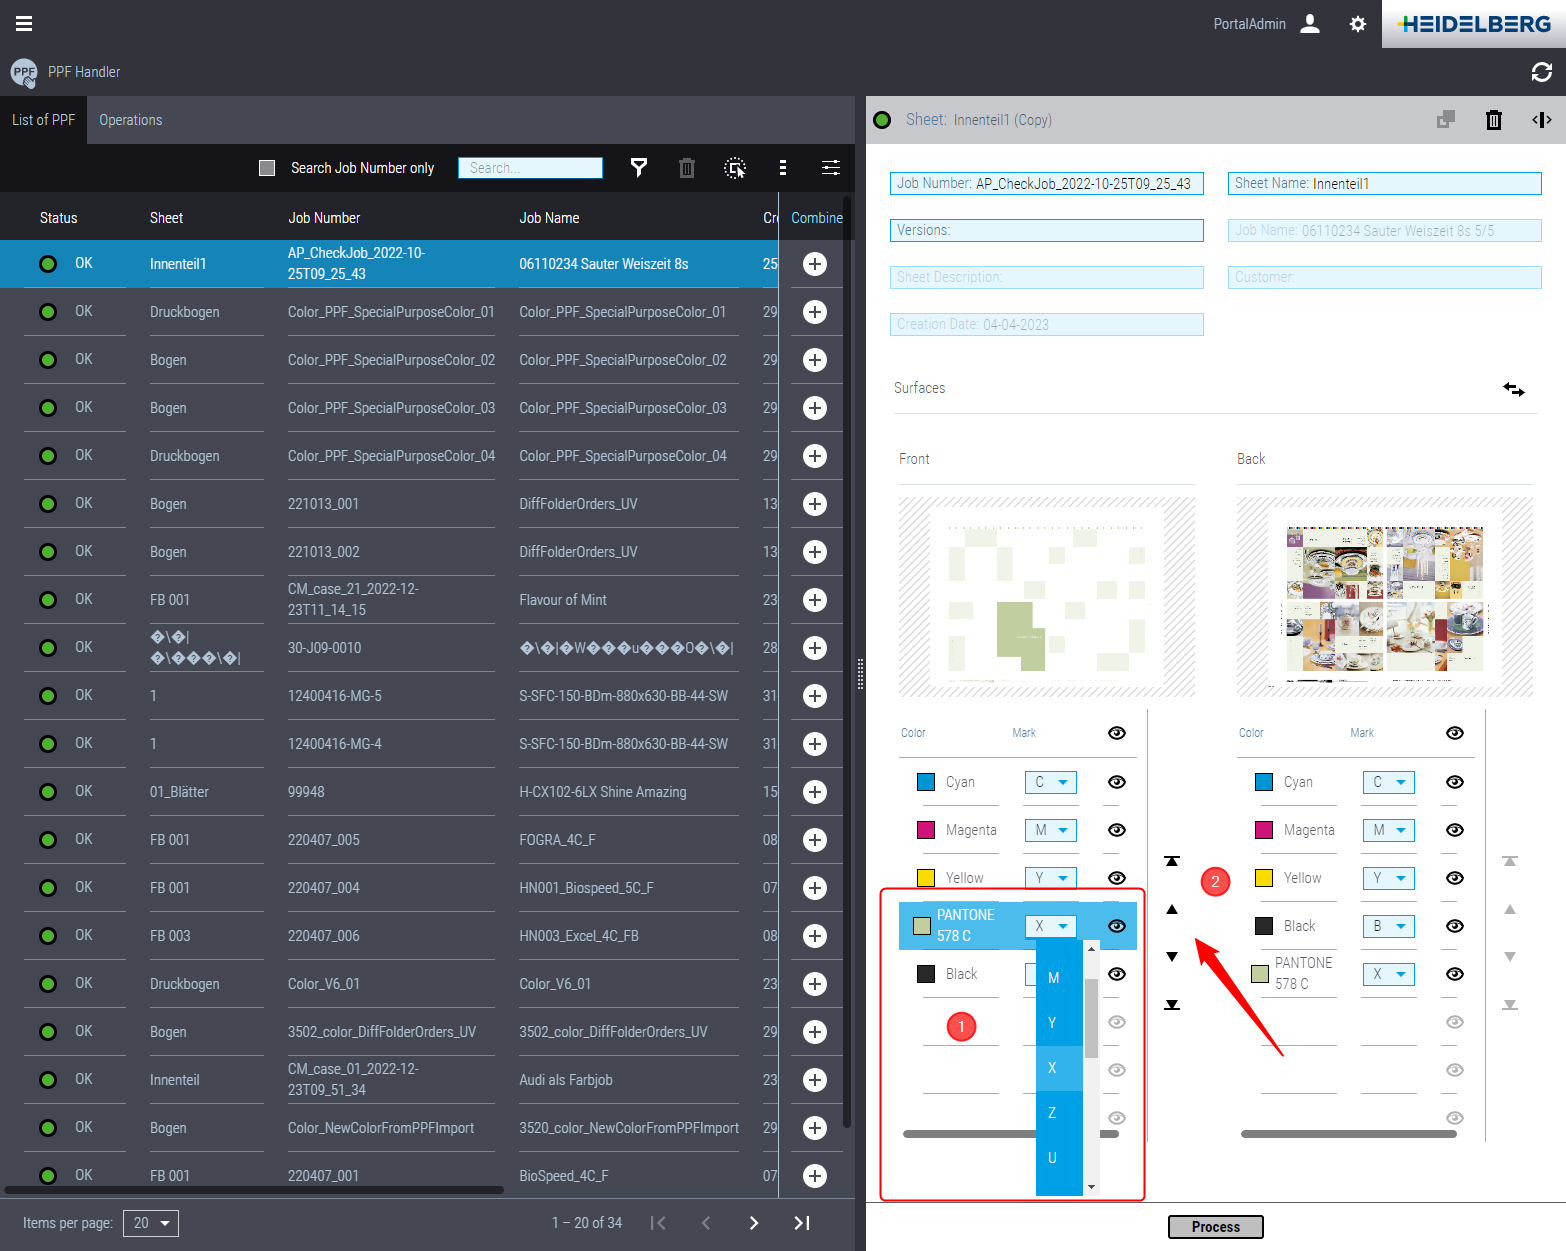
1.Select the color separation in question to change the color assignment to a new marks color (1) and in the destination color list box choose the new color that is to be the destination color of the existing color. In the example, the PANTONETM spot color is assigned to destination color "X".
2.To change the print order, select the color to move, and click the Up or Down button (2). The order shown describes, in which order the separations will be printed. The top color is printed first, followed by the color second from top, etc.
3.Click "Process" when you have made the settings you want. The job in question is then processed with the new settings.
Privacy Policy | Imprint | Prinect Know How | Prinect Release Notes