
Launch "Assemble Pages" by clicking the icon shown to the left in the menu bar or selecting "Plug-Ins > Prinect 2019 > Assemble Pages".
Assemble Pages lets you assemble two or more PDF pages to one PDF page This can be useful, for example, if you wish to add missing elements (e.g. marks or text), place elements (e.g. newspaper ads) on free spaces or use versioning with different languages. There is also the option of assembling multiple-page PDFs to a single page. In this process, the single page is copied automatically for each page of the multiple-page document.
This section first describes all possible settings of the plug-in. Some practical examples are given after this section.
You must have at least two pages open at the same time to be able to work with Assemble Pages.
|
|
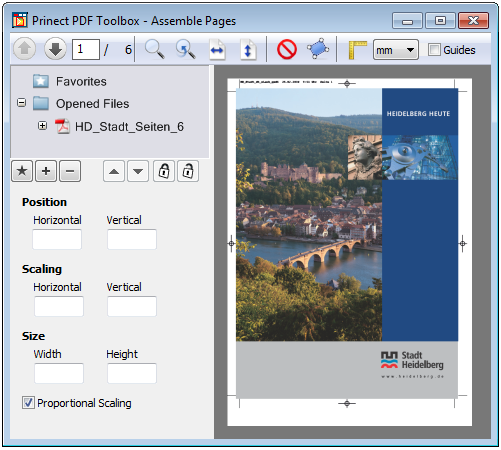
Launch "Assemble Pages" by clicking the icon shown to the left in the menu bar or selecting "Plug-Ins > Prinect 2019 > Assemble Pages". |
The following window displays:
•Favorites
This is where you will find pages that are constantly used, e.g. a custom logo.
•Position
Specify the way the added page will be positioned in the "Position" group. You can define the vertical as well as the horizontal position.
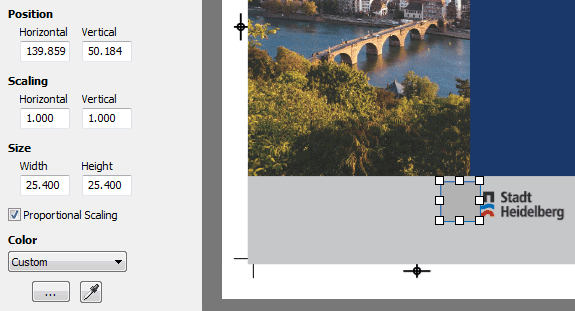
•Scaling
This is where you enter the scaling factor of each selected object in horizontal and vertical direction.
You must disable "Proportional Scaling" if you want the horizontal and vertical directions to have different scales.
•Size
This is where you check or edit the size of a single selected object.
First, you must open the target file.
On the left, select the page or file that you wish to add to the target file.
You can also place all the pages of a source object in a target object. To do this, click the name of the document on the left side and drag-and-drop it onto a hotspot in the target document.
After you dragged the desired object to the target page, the target object will have "plus signs" (hotspots) for positioning.
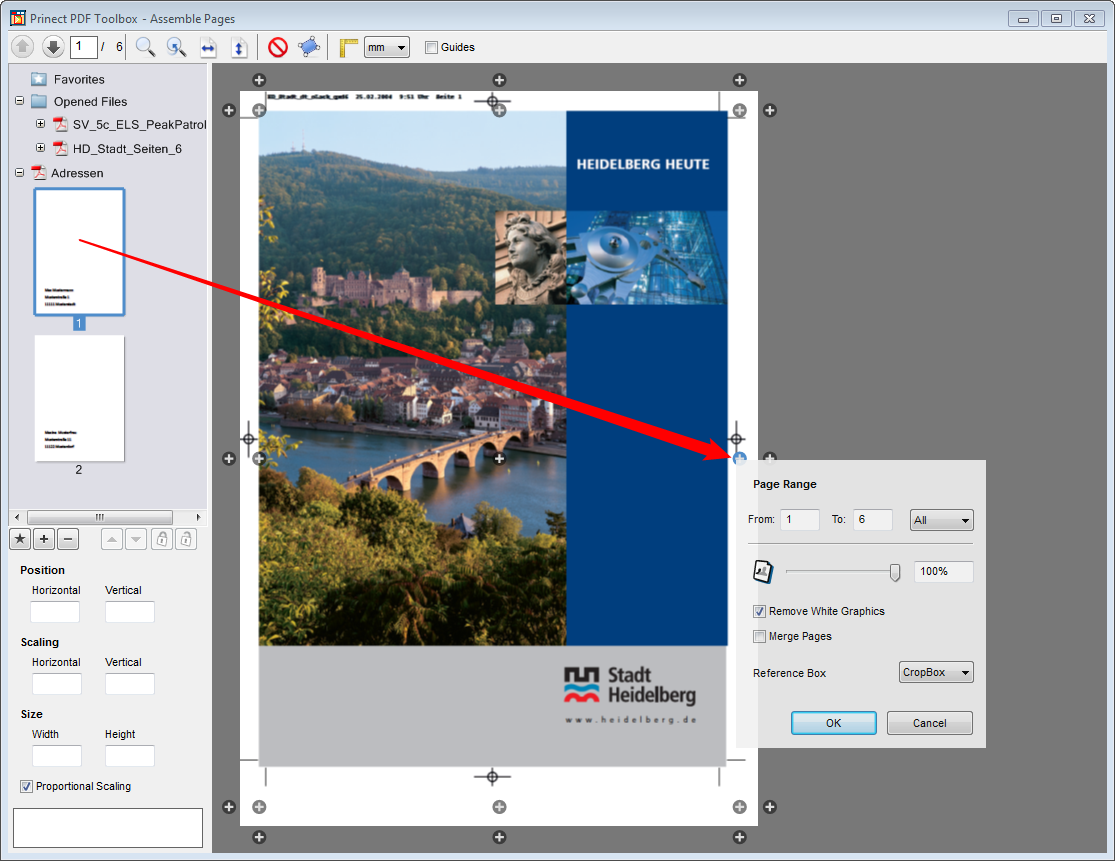
Another dialog displays when you let go of the left mouse button on a "plus sign" (hotspot):
Page Range "From: .. To: ..."
If you wish to place a page/document onto a multiple-page document, enter the page range in the target file in which the object you want is to be placed.
By contrast, if you wish to place a multiple-page document onto a single page, enter the page range that is to be placed onto the single page.
Transparency
Using the transparency slider, you can check the differences between PDFs (e.g. original and correction copy). To do so, place both pages on top of each other with "drag-and-drop" and drag the new page onto the center "plus sign" (hotspot). You can match the "transparency" using the slider.
Remove White Graphics
Check this option if you wish to remove white background graphics.
"Multiply" color blending is used when merging pages. As a result, all knockout effects on elements lying lower down are avoided. Attention: The result uses transparency.
Reference Box
The pages are assembled based on reference boxes. When you select a box, one of the things you can decide is whether you want trim between the pages.
After you placed the PDF file on the target file, you can customize the position and size with the mouse.

|
Note: If you placed the source file on several pages of the target file, you can set the position and size on one page and apply this automatically to all other pages. To do this, right-click the positioned page, and then select "Transfer Position" from the context-sensitive menu. |
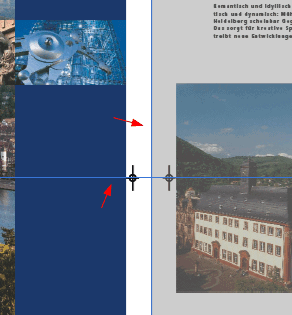
Snap lines
When you drag a page onto the middle hotspot and then move it by drag-and-drop, "snap lines" (lines running through the vertical and horizontal center of the pages of other objects) appear automatically for exact positioning.
You can also scale up or down the assembled object and rotate it using the rotation tool.
|
|
|
Rotation tool |

You can scale the pages up and down also using the tools in the menu bar or with "Zoom In" / "Zoom Out" in the context-sensitive menu as well as select "Previous View". You can also select the functions listed above in the context-sensitive menu.
Use this tool to insert a frame that will cover certain unwanted contents.
On the left, you can edit the values of the mask box by typing in different values.
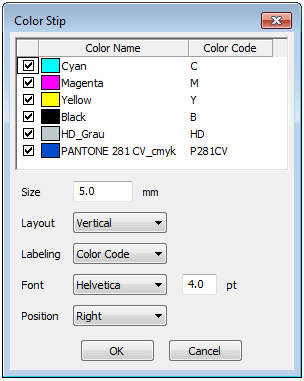
Use this tool to add a color strip that you can evaluate after printing using Prinect Color Toolbox.
You select the colors that are to appear in the color strip by setting checkmarks. You can edit the color codes. You set the properties of the color strip in the lower part of the dialog:
•Size of each square in mm
•Layout of the color patches (Vertical/Horizontal)
•Labeling (None/Color Name/Color Code)
•Font and font size
•Position (Left/Right or Bottom/Top)
Click "OK". The color strip is generated. You can customize its position and size by dragging it with the mouse to suit your needs.
|
|
Video Tutorial: There is also a video tutorial on this topic. See Creating and analyzing spot color strips. |