A new window displays when you click "Continue". The options you can select vary according to how the data are available.
You can return to the file selection with the blue arrow button in the toolbar at the top.
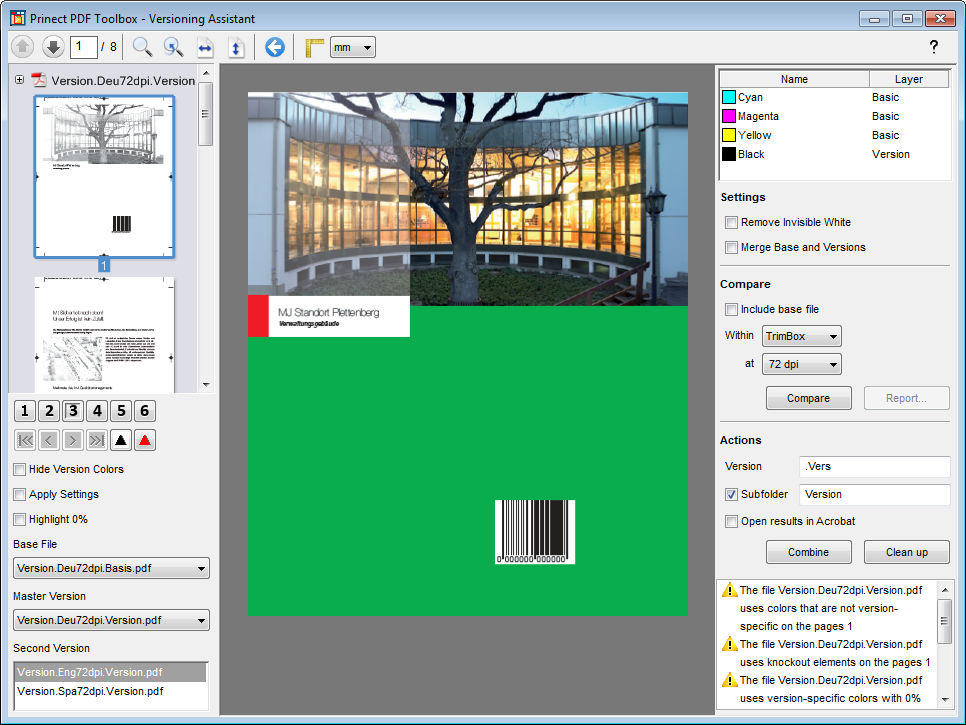
Left side
You will find check options for the view on the left.
First of all, select the files for the base and the master version from the list boxes. The master version is the file from which the plates for the joint primaries (e.g. CMY) will be taken during production.
Then mark the second version that will be used for comparison.
In the preview, select the page to be compared. The following control buttons are found below it that you can use to toggle between views:
|
|
Original master version (quick pick button "1") |
|
|
Original second version (quick pick button "2") |
|
|
Base with master version (quick pick button "3") |
|
|
Base with second version (quick pick button "4") |
|
|
Base of master version (quick pick button "5") |
|
|
Base of second version (quick pick button "6") |
|
|
Difference of bases, gray (quick pick button "7") |
|
|
Difference of bases, colored (quick pick button "8") (to change the display color: hold down the Shift key at the same time when you click the button) |
The section of the requested view is calculated on-the-fly like in PDF Compare and can be seen immediately.
The original master and second version have a pink background if the data are separate to make knockout elements visible if version colors are hidden.
If an automatic comparison was run beforehand ("Compare" button on the right), you can click the following button bar:

|
These let you go through the pages on which differences were found. |
Hide Version Colors
Use this option to hide version colors from the view. This lets you detect differences in the base of the master and second version without any complex calculation caused by switching between views [1] and [2]. Shortcut: Space bar.
Apply Settings (only if base and version are separate)
When you enable this option, you can then view a preview of the result you expect after running "Clean up" and "Combine".
If a version separation has a print density of 0% and the base version overwrites, then your result is a print density of 0%. Generally, this is not wanted and in this case a warning is issued in the Info box.
When this checkbox is enabled, you can view the areas which have a print density of 0% in the version.
Right side
The color list shows for all existing color separations whether they are part of the "base" or the "version". The default setting is that chromatic colors are part of the base and the version layer is printed with "Black". But you can also select all other process and spot colors to be version-specific. To do this, right-click the color separation and assign the layer.
"Black (Version)" is also available in addition to the "Base" and "Version" layers. This item lets you simulate the conversion of the version colors to black.
Example: You have a number of black text separations. Mark them, right-click and assign "Black (Version)" to them. You now see what the result will be like when all the separations are grouped on a plate. In this way, you can detect whether there are knockouts that you can remove with "Clean up".
Settings
Version Layer (only if base and version are together)
The version layer includes:
•All Elements
•Only Text
•No Images
These are the possible types of object in a PDF page description (Text, Graphic, Image, Bitmap, Shading).
This is where you select the object type which contains the varying (version-specific) part.
You should select "Only Text" if version-specific information is found only in text elements. This option normally makes the other functions much faster because, for example, no images have to be separated. You must select "All Elements" if the images or graphics have version-specific parts. The graphics and images from the base with the text of each version are imaged on one plate if you select "Only Text".

|
Note: You should select "All Elements" only if images or graphics in the versions are positioned on exactly the same position. |

|
Note: Images that are only in the version color (e.g. black-and-white images if "Black" is the version color) and consequently have no matching elements in the base are always incorporated into the language layer even if "Only Text" or "No Images" is selected. |
Set overprint if equal or above [area coverage in %] (only if base and version are together)
You can set version-specific text or graphic elements with a minimum area coverage to "overprint" so that there is no unwanted knockout on the separated base file. The area coverage applies to the color that was selected as the version, e.g. black for the text. If saturation of this color is above or equal to the set value, the color is overprinted. It stays as knockout if it lies below the value. This function does not affect images or blends.
Empty white graphics in the version layer can have knockout impacts on the base. For example, if a white graphic lies on top of an image, then its colors appear low in contrast because the black separation is knocked out at this position. In the Prinect PDF Assistant PDF Report, you can determine whether white graphics are present. See CMYK White is overprinting - Check images.
If "Remove Invisible White" is enabled, not only are all white graphics removed that do not have an knockout impact within the version colors but also all white pixels (all separations 0%) are hidden in images.
Merge Base and Versions (only if base and version are separate)
If the version impacts the base with unwanted knockouts that cannot be remedied with "Clean up", then this function provides you with another way of solving the issue. It is needed mainly if black of the version is to be merged with black of the base.
"Multiply" color blending is used when merging base and version. As a result, all knockout effects by versions on the base are avoided. However, in this process transparency elements develop that you should check before printing.
Compare
All files are compared with the master version if base and version are separate.
The base elements of all files are compared if base and version are together.
In this process, temporary PDF files without any version-specific details are created of all the files to be compared. Any unwanted versions that may be present affect the base file, for example, knockout or non-version colors. The temporary files are rendered in the set resolution, compared and then the color deviations are displayed. This process can take some time, depending on the complexity of the files and selected settings.
After a successful comparison, the page preview displays an icon for each page, indicating whether or not differences were found.
Include base file (only if base and version are separate)
Enable this checkbox if the base file is to be included in the comparison. If the comparison of the master version with the second versions indicates that negative impacts on the base are possible, then the systems first checks whether these impacts will really occur on the base at hand before a warning is issued. Knockout elements on a white background, for example, then no longer cause error messages.
Ignore Image Contents (only if base and version are together)
The comparison shows a difference when the images differ only in the degree of their compression. To avoid this, the image content (but not image position) can be ignored.
Within - [list box]
You can specify that the comparison will apply to one of the boxes in the PDF files.
This option avoids error messages because of the different color control marks, for example.
at - ["Resolution" list box]
The set resolution defines the accuracy and speed with which the comparison is made. A resolution of 72 dpi is normally entirely sufficient to determine the differences.
Compare
Starts the automatic comparison. You can view the result with the help of the button bars on the left.

|
Note: Use Acrobat's output preview as well to check, for example, that versions are correctly overprinted. Make sure that the overprint preview in Acrobat's preferences is enabled ("Page Display") |
Creates a report on the differences between the master version and all second versions that were found automatically during the comparison.
Actions
Base - [file name]
The data are needed for the new PDF files that are produced with "Split". You must specify the file name for the base (e.g. CMY) of the master version. An extension is needed for each new version file (e.g. K separations for English and Spanish).
Version - [file extension]
This detail is needed for the new PDF files that are produced with "Clean up". An extension is needed for each new version file (e.g. K separations for English and Spanish).
Subfolder - [folder name]
A subfolder is created in the folder for the PDF files that will be processed when this option is checked. You must enter a name. This is where the base file and the version files will be located.
Open in Acrobat
When this option is enabled, the new file opens automatically in Acrobat after you click "Combine", "Split" or "Clean up".
Combine
•if base and version are separate:
You can combine files that are separate when supplied to versioned PDF files. A PDF file is generated automatically for each combination made up of a base and version and saved to the set subfolder.
•if base and version are together:
The versions are combined with the base and saved. A PDF with the version name is generated automatically for each combination.
Split (only if base and version are together)
Base of the master version and version elements of all versions are saved separately. A base file and a version file are created for the master version. Only version PDFs are created for all other files.
Clean up (only if base and version are separate)
All non-version parts are removed from the version files. For example, these can be unwanted versions that affect the base file, for example, knockout or non-version colors. Only version colors (generally "Black") remain and are set to overprint. The result in each case is created as a new PDF file.

|
Note: Remember that image boxes with a filling of 0% CMYK can apply overprinting white to elements from the base and, in this way, can make them invisible. |
|
|
Video Tutorial: There is also a video tutorial on this topic. See Split base and version. |
HD Privacy Statement | Imprint | Prinect Know How


