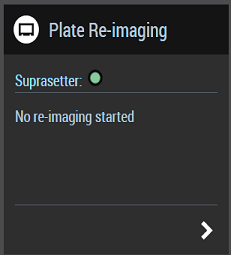
The "Plate Re-imaging" widget makes it easy for you to re-image plates. A first imaging of the plates is not possible.
Available tile:
To be able to use the "Plate Re-imaging" widget, you need at least:
•Prinect Production Manager
•Prinect Portal
•Prinect Shooter 2 with the "Prinect Shooter 2 Plate Remake" option.
This option is not necessary if you have a Prinect Renderer with the "CIP4 Data and PlateRemake" option.
•Prinect Press Center XL2 as of version S16b with Wallscreen XL and suitable terminal server configuration.
Proceed as follows to re-image plates:
1.Go to "myPrinect".
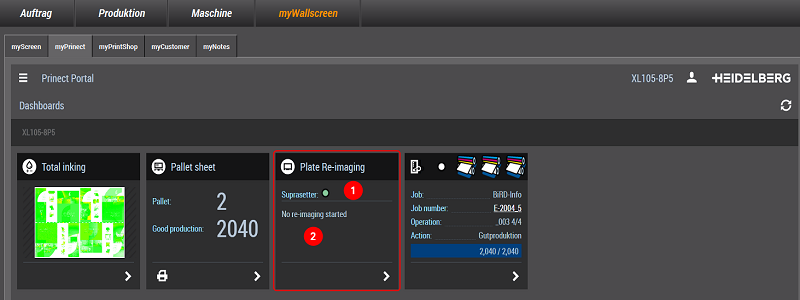
The widget for plate re-imaging shows at the top all the imagesetters that are known to the system as well as their status (1). The bottom part shows the number of plates currently being re-imaged (2).
2.Click the widget.
The dialog below displays:
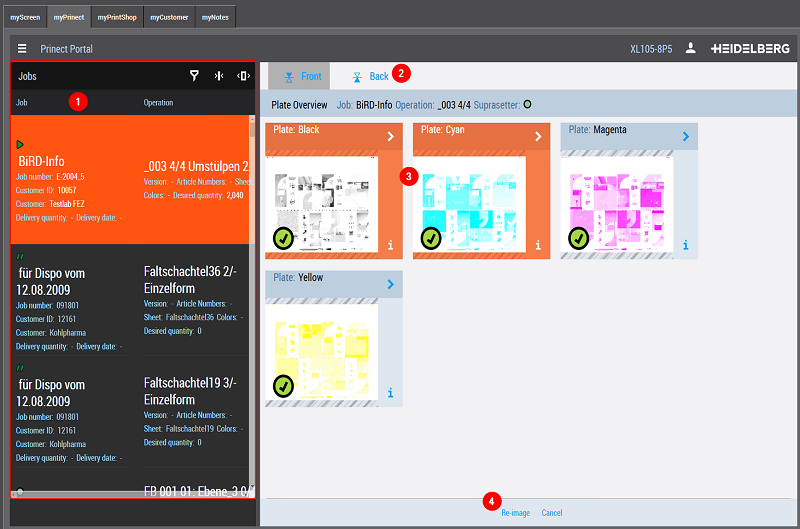
The operation currently loaded (if any) displays at the top of the list of operations (1). Below this is a list of all operations of the machine cluster for which plates are made and default data available (see Status icons in the list of operations for an explanation of the icons).
3.Select an operation in the list.
Previews of the single plates display on the right. You can select front and back at the top of the dialog (2).
·The plate is tagged by a green checkmark: The plate is ready for re-imaging on the Prinect Shooter.
·The plate is dimmed: The plate is no longer available on the Prinect Shooter and cannot be re-imaged by the press.
4.Select a plate that you wish to re-image. Click the arrow to re-image a single plate (3). This saves you the next interim step.
(5).To re-image several plates, select the plates one after the other. The plates are then orange (3). Click a plate again to deselect it.
Then click "Re-image" (4). The dialog below displays:


6.Set a work type (1) and enter a comment if required (2).
The work type defines how the costs will be booked. The work type and a comment are relevant only in conjunction with Analyze Point and/or an MIS system. In all other cases, the entries can be ignored.
7.Click "Re-image".
The re-imaging job is sent to the Prinect Shooter. The preview is dimmed during imaging. A green checkmark displays on the plate when imaging is finished.
|
Error pattern |
Possible cause/remedy of issue |
|---|---|
|
Plate preview is dimmed 
|
The job is no longer available on the Prinect Shooter. Re-imaging by the machine is no longer possible. |
|
Plate preview with red exclamation point 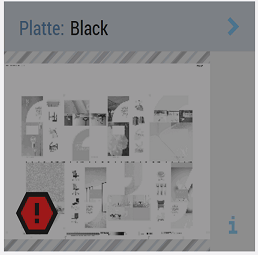
|
Plate re-imaging was aborted. Check the imagesetter. |
|
Imagesetter cannot be reached. The imagesetter has a red status dot. |
The Prinect Shooter was probably powered down. Check the Prinect Shooter. |