Launch of the Product Code Filter Editor
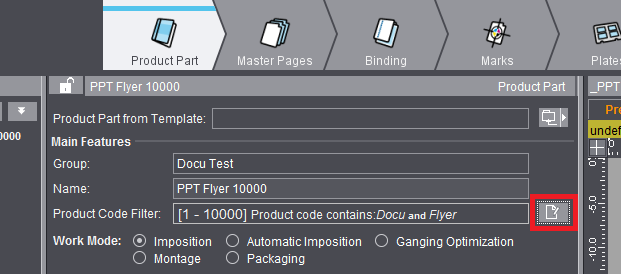
You can launch the Product Code Filter Editor on the one hand in the Product Part Editor in the "Product Part" step, irrespective of the selected work mode:
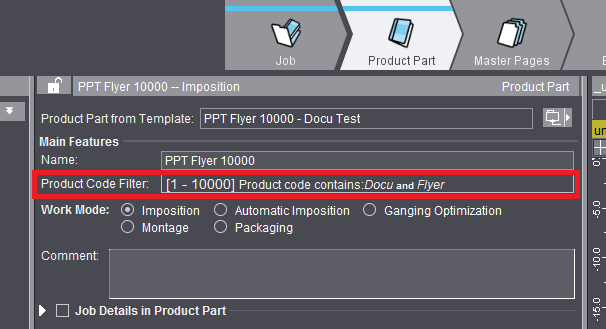
The defined filter is saved along with the product part template. The product code filter only displays in an open job (if at least one criterion is defined) but cannot be edited because modifying the filter can have no impact on the current job:
Furthermore, you can also launch the Product Code Filter Editor from the Segment Template Editor when creating segment templates (only with the "Ganging with Segments for Finishing" license). This is where you define the product codes in which a segment template will be used. The segment template is basically not active if a product code is not specified.
Create a product code filter
In the Product Code Editor, you can define the components that will be used for a product code search.
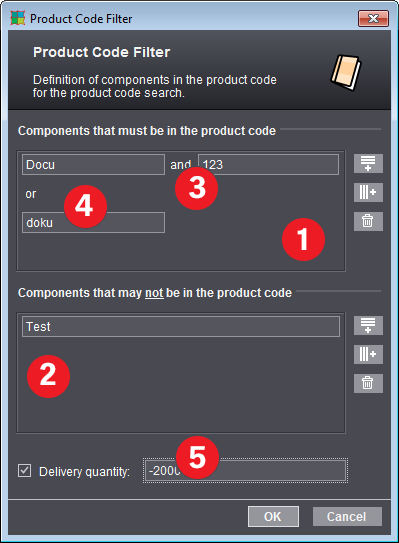
On the left there is a list of the components of the product code filter, on the right the buttons for editing this list. Two lists of product code components are available:
•The top list lists all the components that must be in the product code. (1)
•The bottom list lists all the components that may not be in the product code. (2)
Fundamentally, the rows are OR links. This means that the product code must contain the components of either one or the other row to meet the filter criterion. Columns within a row are AND links. This means that the product code must have all the components of the columns in this row. The following editing options are available:

|
"New product code component row": a new component row is added to the list. This is linked to the other rows with OR. (4) |

|
"New product code component column": a new component column is added to the marked component row. This is linked to the other columns with AND. (3) |

|
"Remove product code component cell": The marked component cell is removed from the list. The other columns are kept if the row concerned has several columns. |
Row or columns are marked by clicking into the relevant text box.
For a fast input, you can enter the product codes of a row also with *. For example, "glossy*A4" that is entered in a word in a cell is identical to the "glossy" and "A4" columns.
Filtering with delivery quantities
Not only that, you can also influence the product code search with the set delivery quantity (5).
The delivery quantity is specified as a range. Examples:
•- 500: range without specified start value, up to and including 500
•500 - 1000: Range including the limit values
•1000- : open-ended range
These parameters are saved with the job/product part.
By specifying the delivery quantity, you can work with different templates depending on the production quantity. To do this, you link the templates concerned to the same product code, but specify a different delivery quantity in each case in the filter, in this way letting you cover your whole delivery quantity range across several templates.
When creating filters with delivery quantities, make sure that there is a difference in the product code search for product part templates and segment templates:
•Product part templates are scanned in alphabetical order in the product code search. When the first matching template is found, all other templates are no longer checked.
•Segment templates are always fully scanned. This means: If there are several segment templates for a product code, the delivery quantities that you define for all of these segment templates must be clearly different from one another. If they are not, you will have nesting of the templates, resulting in multiple use.
Example:
The use of three product part templates for the same product code is to be controlled through the delivery quantity:
•A1 with a set delivery quantity of "1-1000" in the product code filter
A2 with a set delivery quantity of "1001-5000"
A3 with a set delivery quantity of "5001-" for all production quantities greater than 5000 pieces
•Alternatively, in this example for A3 you could do without the delivery quantity because the templates are scanned in alphabetical order and A3 is checked in the first place only if A1 and A2 were not applicable because of the delivery quantities set for them.
•It is essential that such a definition without a set delivery quantity is found at the end of the alphabetical order. If in the example A1 would not have any set delivery quantity and A2 and A3 set delivery quantity ranges of "1-1000" and "1001-5000" respectively, A2 and A3 would not be used because in the alphabetical search order A1 is checked first and always is applicable.
For that reason, we recommend that you always specify set delivery quantity ranges for all of the product part templates of the same product code to have a clear overview on the one hand whether all delivery quantity ranges are covered and to avoid errors on the other.
•The situation is different in the case of segment templates. If finishing on different machines is to be controlled through the production quantity, this works only by specifying set delivery quantity ranges for all templates, for example, A1="1-1000", A2="1001-5000" and A3="5001-". If A3 would be specified as a product code filter without any delivery quantity restrictions, both A2 and A3 would be used for a production quantity of 2000. This means that you would have two nested segments (see also segment templates > "General" tab).