Privacy Policy | Imprint | Prinect Know How | Prinect Release Notes ![]()
"Print mark settings" tab for Labelfire 340 / DCS 340 and Gallus One presses
 Note: The print mark settings differ, depending on the press that the PagePrint sequence is set up for. See also "Print mark settings" tab for toner-based digital presses (HEIDELBERG Versafire except Versafire LV / LP) and CTP devices.
The available marks options are matched to the Labelfire 340 press. This means that only "Punch Mark", "Sensotec Mark", "Register Mark" and "Info Text" types of marks are offered for selection.
"Punch Mark" mark type
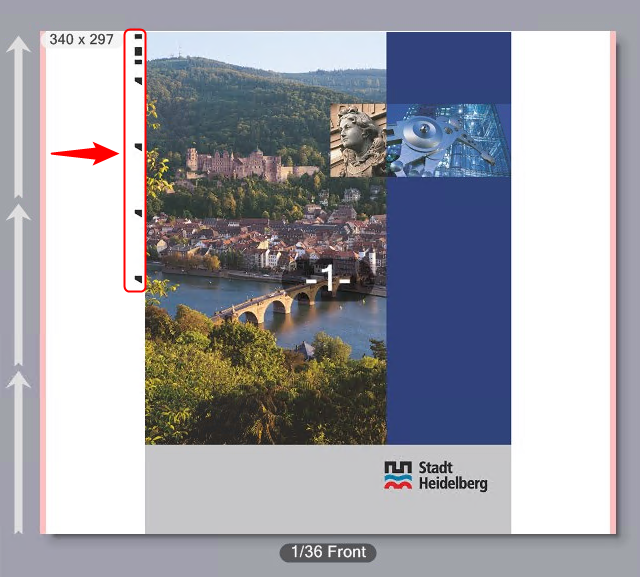
If an offline punch is used with a Labelfire or Gallus One press, a special "Punch mark" is required for punching synchronization. It is a box whose height, width and position can be set. By default, this mark is a square with an edge length of 1 cm at the position [0.0] (top left corner).
Use the "X" and "Y" values to set the offset of the punch marks to the subject in horizontal and vertical direction.
You define the size of the punch marks with "Height" and "Width".
Option "Repeat by row"
It may happen that the print format (segment length) of the printed substrate section is significantly larger than the punch format. In this case, it is not sufficient to use only one punch mark per segment; instead, a punch mark must be inserted for every nth line (depending on the punch format).
By enabling the "Repeat by row" option, punch marks are inserted in every nth row (n=number set in the corresponding number field). For example, the number 3 causes a punch mark to be inserted in every third row.
When a number n > 1 is set, the distance Y no longer refers to the start of the segment, but to the start of the row in which the punch mark is inserted.
Note: Punch and Sensotec marks are always output in 100% black on the Labelfire, in other words, without color management.
"Sensotec Mark" mark type
Sensotec marks are special marks that are used for automatic register control.
Use the "X" and "Y" values to set the offset of the Sensotec marks to the subject in horizontal and vertical direction.
Note: Sensotec marks and punch marks are always output in 100% black on the Labelfire, in other words, without color management.
Digital printing unit is Master / Slave
If a print job has other colors to be output in addition to digital printing, for example, also in flexographic printing, it is important to set whether digital printing will be done first or after flexographic printing. A great amount of waste can be the result if the start code is also printed only with digital printing but the flexographic colors are printed first.
Printing is always in the order in which the printing units are set up. The following is valid for the Master/Slave setting:
•If you select "Master", the start code is output by digital printing. If the flexographic printing units come before digital printing, the flexographic colors are printed first (although they are the "Slave"), followed by digital printing.
•If you select "Slave", the start code is output by the first (flexographic) color to be printed. The digital printing unit is "Slave" and then outputs the last mark.
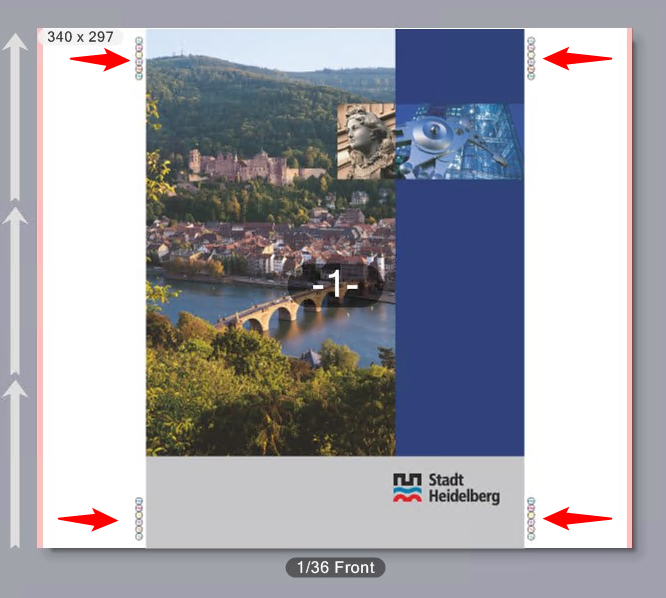
Register marks and spot color patches
This is where you can set that register marks and spot color patches will be printed.
Spot color patches are control strips made up of patches filled with spot colors. This makes it possible for spot colors to be measured on the substrate.
The register marks for Labelfire presses are designed so that a color depicted as a cross on a black bounding circle is corrected. The marks are placed on the side of the subject, either one at the top left and one at the bottom right or two marks each on the left and right.
The positioning of Sensotec marks is always measured relative to the edge of the subject, while punch marks are normally positioned relative to the material edge of the substrate. If, for example, both mark types are used at the same time, the X and Y position values of the punch marks must be manually adjusted to the subject position.
To make this adjustment easier, you can select the "Subject" entry in the "Position" selection list instead of the standard "Material" setting. The X-Y position values of the punch marks then refer to the edge of the subject - as with the Sensotec marks.
X and Y position values
Use the "X" and "Y" values to set the offset of the register marks and/or the spot color strips to the subjects in horizontal and vertical direction. The position refers to the segment margin.
In the "Marks per Side" box, you set the number of register marks on the left and on the right of the substrate. A maximum of two register marks per side can be output. In the example, two marks per side are enabled.
In the "Marks per Side" box, you set the number of register marks on the left and on the right of the substrate. In the example, two marks per side are enabled.
Spot Color Patches
When you enable this option, control strips made up of spot color patches are printed. You can print spot color strips together with register marks or on their own. You can set the offset of the spot color strip to the register marks if register marks and spot color patches are both enabled. This is the offset of the lower edge of the spot color strip to the top edge of the lower right register mark. In other words, the spot color strip lies above the lower right register mark.
Register marks and spot color strips are placed one below the other in a straight line. The size of a color patch is 6mm by 6mm.
Labeling
If wanted, you can enable labeling of the marks.
You can use this option to define special text marks by entering the appropriate text in the edit box. For example, you can enter information on specific output options, or comments on finishing.
Font selection
In the "Font" list box, you can select from various fonts for Western languages. You can also choose a font for "Japanese, Chinese (simplified) or Korean. For Info Texts, the selected font or language is used — regardless of other font or language settings in the system environment.
Extended order information.
Enabling this option lets you include additional information on the print job such as special information for packaging printing in the slugline. You can, depending on the type of job, include the following extended information in the slugline:
•Job type (packaging or label printing)
•Customer ID and name
•Creation Date, Proof Time Stamp
•Product name and number
•Product ID assigned by the customer
•Shape ID and Shape Name
•Number of colors (process colors, spot color and technical colors)
•Process colors
•Spot colors
•DieLine Colors (technical colors)
•Special effects (coating, varnish, foil, embossing)
•Perfectors (for label printing)
•Prepress Job ID
•PDF file name
•Sizes of PDF boxes (trim box, media box, bleed box)
•Notes
•Editor version
•Printing material
Option "Reduced to job number"
If you enable this option, the info text will be reduced to the job number (JobID) and the comment.
Option "Reduced to job name"
If you enable this option, the info text will be reduced to the job name (JobName) and the comment.
Offsets X and Y
In the "X" and "Y" boxes you define the offsets of the mark to the reference point in the bottom left corner of the subject. If register marks, for example, are also defined, the reference point shifts to the top margin of the register marks.
Note: The angle for info text marks is set by default to 90° (in anticlockwise direction) for Labelfire presses. This is to avoid the info text mark from inadvertently running across the 1up.
Mark components
An info text mark contains the following components:
•Job Number
•Job type (e.g. "Records" if it is a PDF/VT document)
•Date, time
•Output condition
•Text of the "Info Text" box
The marks are placed on the right margin of the subject. If color marks and Info Text are not arranged on a joint vertical line, the Info Text mark will be placed on the lower segment margin.
The font size is set automatically so that the text automatically utilizes the available space.

Privacy Policy | Imprint | Prinect Know How | Prinect Release Notes