Privacy Policy | Imprint | Prinect Know How | Prinect Release Notes ![]()
Time Category
If you have a license for Analyze Point, time protocols and time evaluations are available at several points in it (e.g. time evaluation, job evaluation, machine evaluation reports, etc.). Configuration of the time categories is relevant only if you want a time evaluation in Analyze Point.
See Time Evaluation for a detailed explanation of time evaluation.
You have the following setup options in the "Time category" tab:
•Assigning a Time Type to a Time Category
You have to do this only if you created a new time type beforehand for an operation (PDC message). All predefined time types are already assigned to a time category.
•Modify name (designation) of a time category
In some countries, it may be necessary to modify the designation of the time categories. In Germany, we recommend keeping the predefined designations. These are in compliance with the guidelines of the German Association of Print and Media.
Adding further time categories is not planned. By default, the following time types and time categories are predefined:
Time category | Time type |
|---|---|
Production time | Setup time |
Execution time | |
Miscellaneous production time | |
Auxiliary time | Auxiliary time |
Down time | Down time |
Assigning a Time Type to a Time Category
If you created a time type manually, you must assign it to a time category. You can do this in the "Time category" tab if you did not already do this when creating the time type.
Proceed as follows:
1.Go to "Administration > Device configuration > Time category".
2.Select the time category to which you want to assign a time type.
3.Click "Open".
The "Time category" dialog displays.

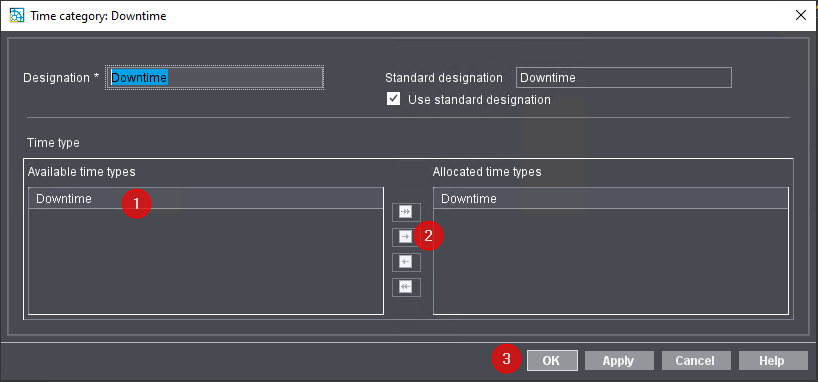
4.Select the time type you wish to assign from the "Available time types" list on the left (1).
5.Click the arrow pointing right (2).
The time type is now in the "Allocated time types" list.
6.Confirm your input with "OK" (3).
The window closes and the time type is assigned to the time category.
Modify name (designation) of a time category
The designation of the time categories can be seen in the time evaluation in Analyze Point. In some countries, it may be necessary to modify the designation of the time categories. In Germany, we recommend keeping the predefined designations. These are in compliance with the guidelines of the German Association of Print and Media.
Proceed as follows to modify:
1.Go to "Administration > Device configuration > Time category".
2.Select the time category whose designation you want to modify.
3.Click "Open".
The "Time category" dialog displays.
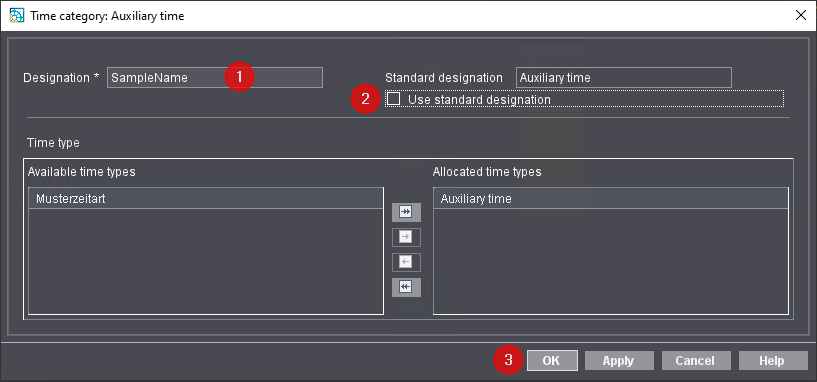
4.Enter the designation you want (1).
5.Disable "Use standard designation" (2).
Only then will the new designation be really used.
6.Confirm your input with "OK" (3).
The window closes and the change is active immediately.
Privacy Policy | Imprint | Prinect Know How | Prinect Release Notes