Installation of the PMC software
Installation of the Prinect Maintenance Center software
 Prerequisite: The following requirements must be met before you can install the PMC software:
•You will need an installation code, which is also required to enable online licensing. See Principle of Online Licensing.
•The Windows user account used to perform the installation must have administrator rights on the computer.
•The user specified for installation must at least have administrator rights on each computer where updates are installed, either by way of a domain account or a local user account.
This installation guide is intended for cases where you want to install the PMC software on a dedicated computer, independent of a Prinect production system installation. This is recommended because updates to the Prinect software sometimes require the computer to be rebooted. Since the PMC also monitors computers to which producing machines are connected, any reboot of the PMC computer would require stopping production operations. To prevent unnecessary downtimes, the PMC should be installed on a separate computer, so that the relatively rare updates of the PMC software associated with computer reboot are performed at times when rebooting the PMC computer does not cause production downtimes.
Proceed as follows:
1.To download the installer software, open the following URL:
You will be taken to the global HEIDELBERG homepage.
2.If necessary, change the language and open the menu item "Software > Prinect Downloads". Here, click the link "Download Prinect Maintenance Center".
The file "Prinect_Maintenance_Center_XXXX.zip" (XXXX indicates the version number) is downloaded to your browser's download folder. If necessary, copy (or move) the .zip file to the computer where you want to install the PMC software.
3.Extract the ZIP file and observe the instructions in the following files:
•ReadMe.rtf,
•Data Privacy in Remote Update.pdf,
•License_en.txt.
4.Start the installation program "PMCSetup.exe".
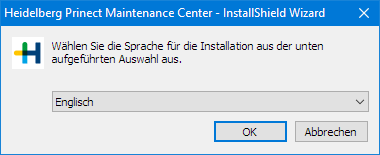
5.Select the language for installation. The default is the language of the operating system. Confirm with "OK".

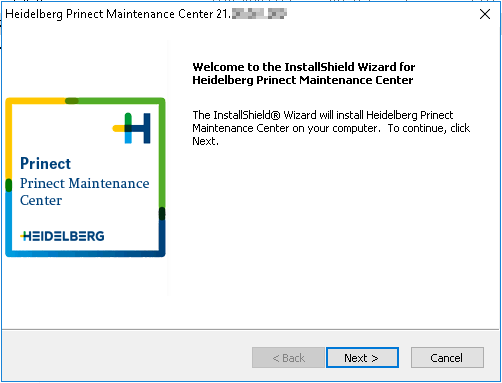
6.The installer's start window appears. Click "Next".
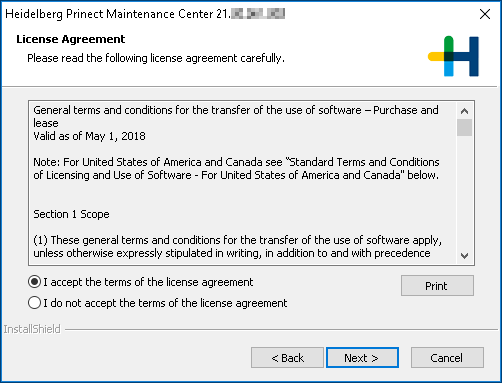
7.The "License Agreement" window displays. Read the license agreement carefully, select "I accept the terms of the license agreement" and click "Next". If you do not enable this option, you will not be able to continue installation.
The dialog for installing the License Server is displayed:
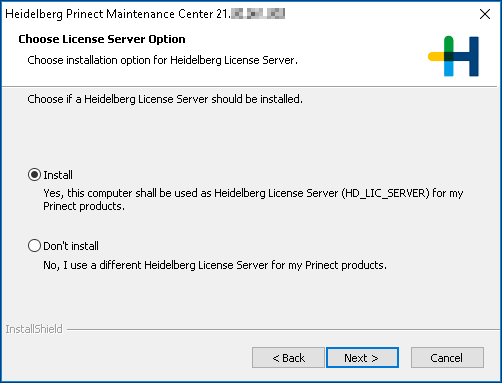
8.Select the "Install" option and click "Next".
The "License Protection Type" window appears. Here, you define whether you want to activate online protection or dongle-based protection. You need a valid dongle for dongle-based protection. Note that not all Prinect applications can be operated with the dongle license protection. Do not plug in the dongle yet! Enable "Online protection" if you want to enable online protection or switch from dongle-based protection to online protection.
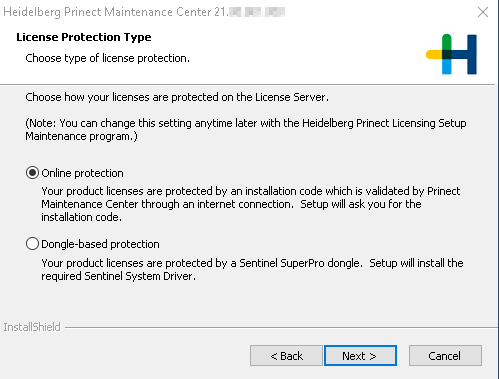
Prerequisite: The following prerequisites must be met for online protection:
•You must have a valid installation code. You can obtain the installation code from your local sales partner or directly from HEIDELBERG at the e-mail address "keys@heidelberg.com".
•PMC operation requires a HEIDELBERG Connection to the PSC or the Prinect Trust Service; it must be possible to establish the respective Internet connection when the PMC software is being installed. As the online license certificate is checked daily, the connection to HEIDELBERG must be permanent (short interruptions are not a problem).
9.As the dongle protection may only be used in rare exceptional cases, you must normally enable the "Online protection" option. Click "Next".
10.Enter the installation code. The installation code is based on the following pattern:
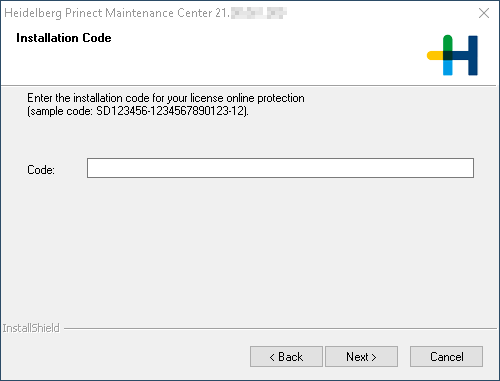
11.Click "Next".
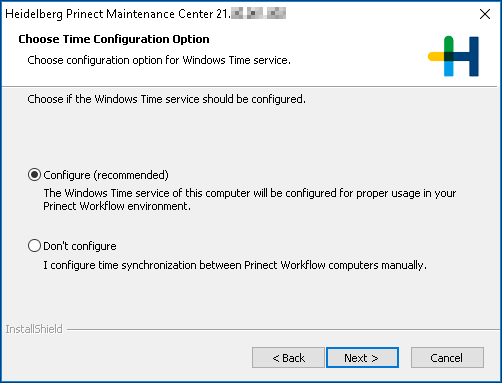
12.The "Choose Time Configuration Option" window displays. Since it is important for various reasons that all the involved computers in a Prinect system environment are synchronized, we strongly recommend that you enable the "Configure" option. Click "Next".
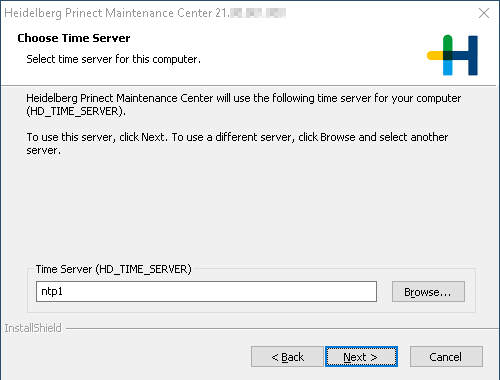
13.The "Choose Time Server" window opens. Normally, you can accept the suggested setup of the HEIDELBERG Time Server (HD_TIME_SERVER).
If another time server is used in your system environment, enter its name in the edit box or click "Browse" to select the time server computer.
Click "Next".
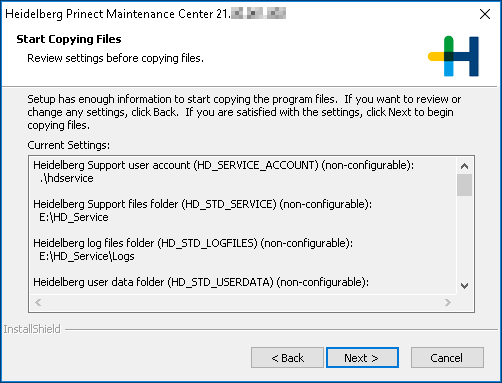
14.A summary of the setup options you selected displays in the next dialog. Click "Back" if you wish to change any of these settings. Click "Next" to start the installation.
15.The installation process starts. The following dialog appears when installation is complete:
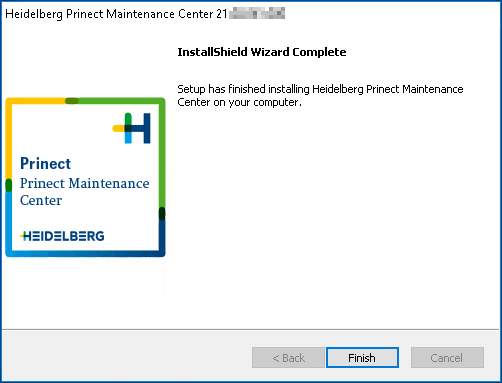
16.Click "Finish".
The installation process is complete.
17.After installation, this program icon for Prinect Maintenance Center is located on your desktop.

Privacy Policy | Imprint | Prinect Know How | Prinect Release Notes