
Launch "Assemble Pages" by clicking the icon shown to the left in the menu bar or selecting "Plug-Ins > Prinect 2020 > Assemble Pages".
Assemble Pages lets you assemble two or more PDF pages to one PDF page This can be useful, for example, if you wish to add missing elements (e.g. marks or text), place elements (e.g. newspaper ads) on free spaces or use versioning with different languages. There is also the option of assembling multiple-page PDFs to a single page. In this process, the single page is copied automatically for each page of the multiple-page document.
This section first describes all possible settings of the plug-in. Some practical examples are given after this section.
You must have at least two pages open at the same time to be able to work with Assemble Pages.
|
|
Launch "Assemble Pages" by clicking the icon shown to the left in the menu bar or selecting "Plug-Ins > Prinect 2020 > Assemble Pages". |
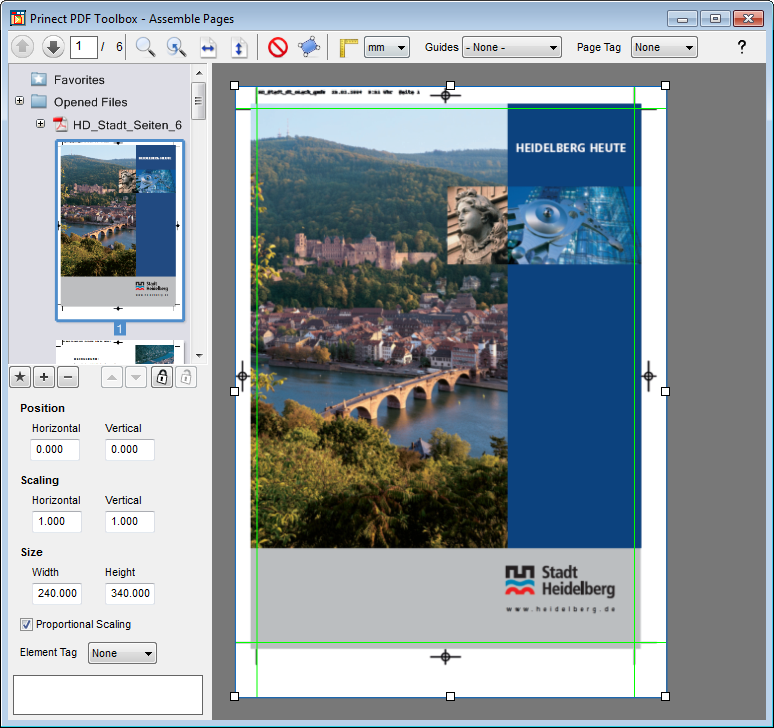
The following window displays:
Left column
•File selection
This is where you select the pages that are to be assembled. To do this, simply drag a page from the preview to the open page and correct the position.
•Position
Specify the way the added page will be positioned in the "Position" group. You can define the vertical as well as the horizontal position.
•Scaling
This is where you enter the scaling factor of each selected object in horizontal and vertical direction.
You must disable "Proportional Scaling" if you want the horizontal and vertical directions to have different scales.
•Size
This is where you check or edit the size of a single selected object.
•Proportional Scaling
When the check box is enabled, the proportion between width and height stays constant when you change the size or during scaling.
•Element Tag
This lets you tag an object with an identifier that becomes effective in Prinect digital printing when printing on certain presses (Labelfire, Primefire). Objects that were assigned a "Security" tag are not changed by color management. The color data stay as they are and undergo special screening.
The colors of objects with "Register" as the tag also stay as they are, but only if the maximum area coverage is not exceeded as a result.
See also Security Tags.
Tool bar
In the toolbar at the top, you will find various functions that let you rotate, insert or delete objects and fit the view.
The following controls are possible:
|
|
Previous page / Next page |
|
|
Zoom In Scale up the view or scale down using Ctrl key as well |
|
|
Previous View |
|
|
Fit the width |
|
|
Fit Height |
|
|
Delete Delete the currently selected element. Alternatively, you can delete the element also with the function in the context-sensitive menu or with the "Del" key. |
|
|
"Rotate" lets you rotate the element. You will also find this function in the context-sensitive menu. Mark one or more objects and click this button. A box surrounding the objects displays. Click a corner point and drag it with the mouse. The content of the box is jointly rotated, with the diagonally opposite corner point as the pivot. You can only rotate step-by-step (step size = 5°) if you keep the Shift key pressed during rotation. |
|
|
Tape measure With the tape measure (ruler) you can quickly determine the dimensions of objects. Click the starting point of the length you would like to measure. Hold down the mouse button and move the mouse to the end of the length. The distance displays directly. Keep the Shift key pressed down to measure only horizontal or vertical lengths. You can choose the following units: mm, points, inch, cm |
•"Guides" list box
You can show guides to make the correct placement of elements easier for you. In the list box, you can set "None", "Default" or custom guides. See Guides.
•"Page Tag" list box
This is where you can assign the "Security" or "Register" tag to the whole page. See Security Tags.
•"?" button
Use this to open the Online Help.
See also:
|
|
Video Tutorial: An example of the use of Assemble Pages is shown in the following tutorial: Prinect DFE - How to personalize data in a few simple steps with the PDF Tool-box. |
HD Privacy Statement | Imprint | Prinect Know How

