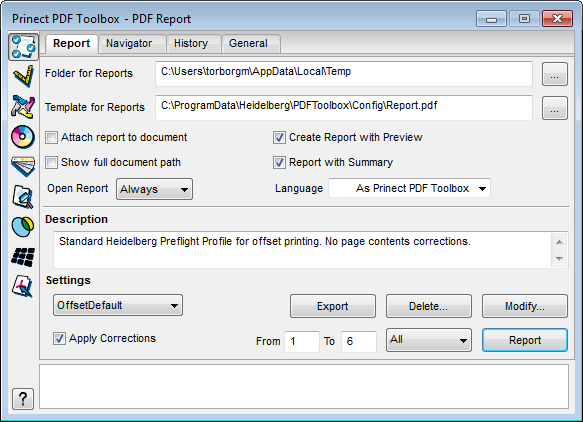
Folder for Reports
Type the path where the report is to be saved in the "Folder for Reports" text box.

|
Note: Once created, the report is automatically saved in the folder specified in this box. The report file name is made up of the file name of the analyzed PDF file and _rep. A number is appended to the file name if several reports are created for the same file. |
Template for Report
The default template for the report, "Report.pdf", is set by default in this box. You can select other folders and templates to suit your needs.
Attach report to document
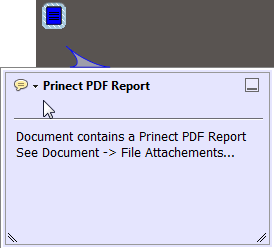
Enable the "Attach report to document" option if you wish to include the report as a PDF attachment to the analyzed PDF.
The PDF document then shows a suitable note:
Show full document path
Enable "Show full document path" if you wish to have the path to the current PDF document listed in the report.
In addition, a preview of the first page can be generated automatically and added to the report. This functionality makes it easier for you to see which reports belong to which analyzed PDFs.
Generates additional details in the report. Can be found in "Additional information". The following details also display:
•Name of the setting used
•Number and display of the color separations used per uniform page range
•Color spaces used
•Fonts used
•Screen systems used (if any)
Open Report
The report can open automatically based on the following conditions:
"Always", "Never", "If Warning", "If Error".
You can set the language for the report in this box.
Description
This is where you can view descriptions of the default preflight profiles or make some additional explanatory notes about them.
Settings
This is where you can select default or custom parameter sets that are used for checking a PDF.
Global option which, if disabled, allows you to not apply corrections. The function is disabled if the parameter set you selected does not include any corrections.
Restrict Preflight check to selected page ranges
See Specify a page range.
Delete
You can delete the selected parameter set. By default, an alert message displays, asking whether you really want to delete.
Change
You can make changes to the existing parameter sets. More details can be found in Modify....
You can export the selected parameter set (preflight profile) with all its settings as a template for Prinect. The correct Prinect path (\PTConfig\SysConfig\Resources\PreflightProfiles) is usually set by default.
In the Prinect Cockpit you can then load these files to the Qualify or Prepare preflight templates in "Actions > Heidelberg Preflight Profile > Import File".
Report
Click "Report". The opened PDF will be checked against the selected parameter set and the settings you made, and the report on the check displays as a PDF document.
The report is now also filed in the folder that you specified in "Folder for Reports". The report is really added to the PDF document only when the PDF document is saved.
The report contains general information about the document such as file name, location, author, creation and modification date, screen system data, lossy compression, etc.
If a PDF report or even a report from the Prinect Prepress Manager is open, you can jump directly to the problem in the PDF file by positioning the mouse pointer on an individual message in the report (the hand then turns into a pointing finger).
If a PDF file and the Navigator window are open, clicking an X in the PDF selects the error message in the window's list. In the same manner, you can select a message in the Navigator window to jump to the problem in the PDF file.
This lets you edit the check parameters or create a new check profile. See Create a new check profile.
HD Privacy Statement | Imprint | Prinect Know How