You can create product part templates in all available work modes in the Product Part Template Editor. This new enhancement was implemented primarily for working with automated "Web to Print" jobs, but you can also use it when creating templates for conventional work.
Operation of the editor is identical to that in the workflow bar. You can find a description of this in Basics of the Workflow Bar.
You can define and save the templates in the Product Part Templates Editor.
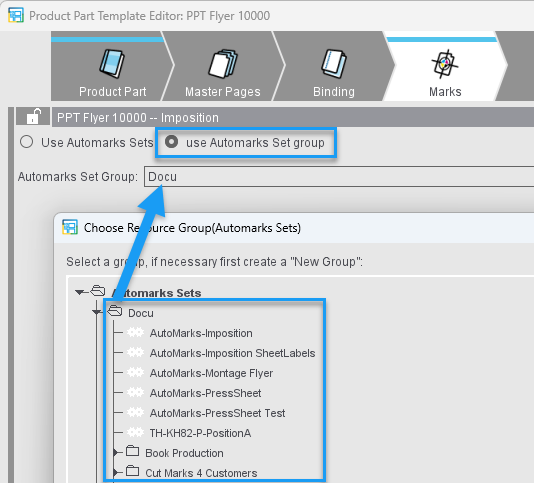
Note on automarks:
In the "Marks" step of the Product Part Template Editor as in the Prefrences, you can specify an automarks set group instead of a specific automarks set. This means that all automarks sets from a specific resource folder will be included in the newly created job (enable the "Use automark set group" option). See Automarks set groups for details
Launch of the Product Part Templates Editor
•Using "File > Create Resource > New Product Part Template... > Product Part Template Editor..." mark your own group (folder) or create a new group and confirm the window with "OK".
•Using "Jobs & Resources > Resources > Product Part Templates" mark your own folder and select "New Product Part Template... > Product Part Template Editor..." in the context menu.
•Double-click an existing product part template resource.
•Mark an existing product part template and select "Edit Product Part Template..." in the context menu.
The Product Part Templates Editor opens as follows:
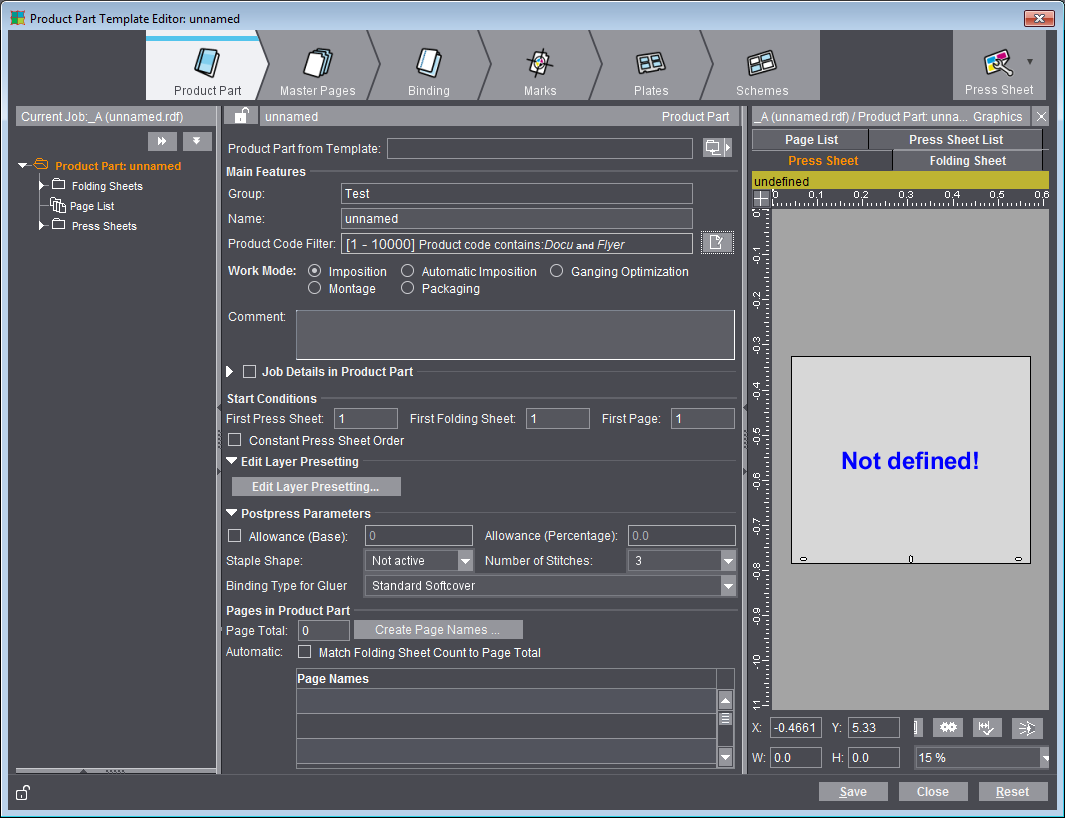
Navigate through the steps in the workflow bar and save your template at the end. The template is available immediately as a resource.