
There are two variants for configuring JDF import:
•Configure JDF import via JDF file
•JDF import via JMF SubmitQueueEntry messages
After having configured one of the two variants, it is essential to perform the following configurations:
•Configure the extraction of master data. See "Master data" Tab.
•Configure repeat jobs. See "Related Job" Tab.
•Configure automatic adaptations to the job. See "JDF Data Additions" Tab.
•Configure automatic Change Orders. See "Change Order" Tab.
•Configure the folder structure for the job list. See "Folder Structure" Tab.
•Define cost center allocation. See Define cost center allocation.
Configure JDF import via JDF file
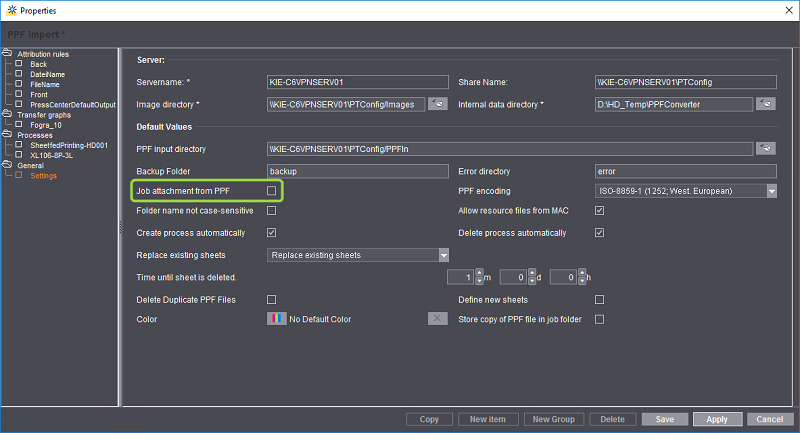
Note: When using a JDF-PPF workflow, the option "Job attachment from PPF" must be deactivated in the PPF import configuration. Please read the section "Start Job Immediately" option for this purpose.
JDF import via JMF SubmitQueueEntry messages

Note: When using a JDF-PPF workflow, the option "Job attachment from PPF" must be deactivated in the PPF import configuration. You find this option in "Administration > System > Prinect Server Settings > JDF Connector Service >PPF Import > Properties". See also Create/configure a process.

In this case, a JDF document is extracted from a JMF message. In other words, a Management Information System generates a JMF message and sends it via a JMF sender to the JMF receiver of the Prinect Manager. You must configure the JMF sender and the JMF receiver in the MIS and the Prinect Manager.